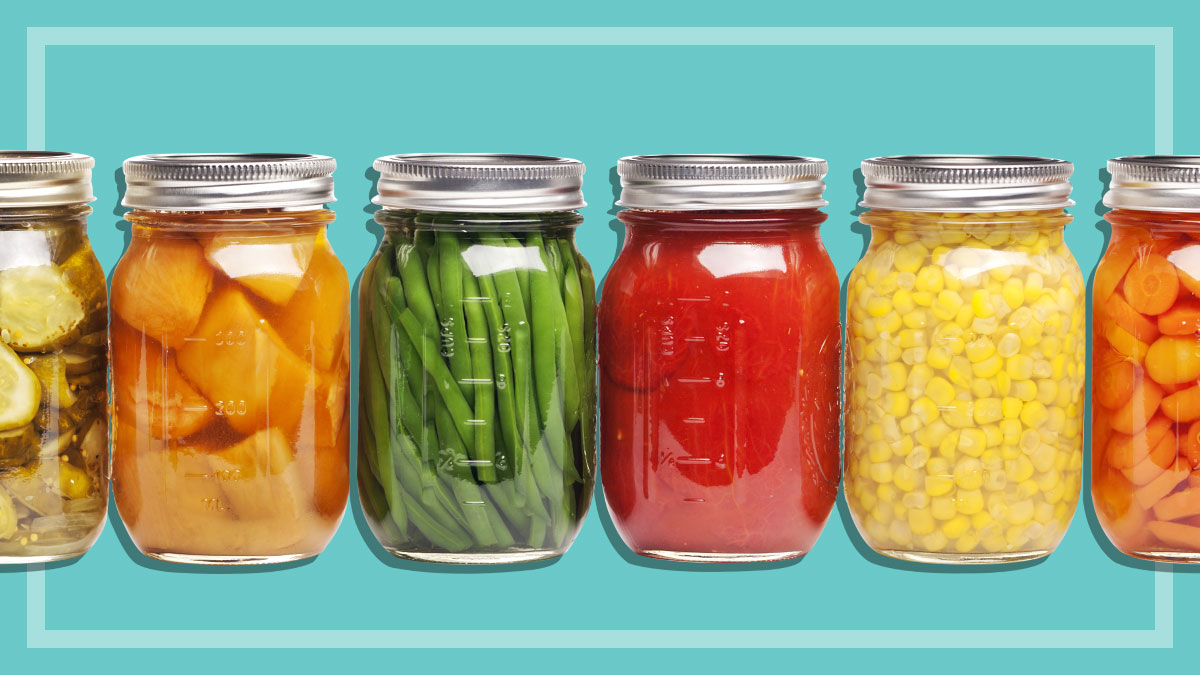
Has your vegie patch produced a bumper crop of tomatoes? Did your green-fingered neighbour leave a basket of carrots and cucumbers on your doorstep? Or perhaps you bulk-bought berries or your favourite apples at the greengrocer or supermarket? After all, not only is seasonal fruit and veg fresher and tastier, but it’s often cheaper too.
If you’ve eaten your fill of fresh produce and still have some left over, why not turn it into jams or pickles, which you can tuck away in the pantry and continue to enjoy all year round – in season or not?
Fiona Mair, CHOICE home economist, guides you through some simple ways to preserve the fruit and veg you have in abundance.
How to make jam
Making jam is a great way to use up leftover berries, citrus or other fruits (and even chilli!). And, according to Fiona, it’s a fairly simple process.
“Essentially all you’re doing is boiling fruit and sugar together until the mixture reaches a deliciously thick and sticky consistency,” she says.
To ensure you get the best results every time, follow her top tips.
Tips for making the perfect jam
Use fresh, seasonal fruit that’s washed and dried well. Underripe fruit is preferable as it’s higher in acidity and pectin, giving a better (more viscous) set. Ripened fruit is still fine, but will give a softer set.
Soften your fruit first to draw out the pectin, before adding the sugar. Make sure the fruit skin is heated and softened, as once you add the sugar the skins won’t soften further. Of all the fruit skins, citrus peel will take the longest to soften (between one and two hours).
Adding a tablespoon of butter to every kilo of fruit will help prevent any scum forming in the jam.
After you’ve added the sugar, stir over a low heat until the sugar has dissolved, then stop stirring and bring it to a rolling boil. This is when you should start your timer.
To test if your jam has reached its setting point, put a teaspoon of jam onto a saucer that has been in the freezer. Push your finger through the jam to create a ‘channel’. If the jam wrinkles and the channel stays in place it’s ready. If not, continue cooking.
Always pour jam into clean, sterilised jars. To seal them, turn the jars upside down for a few minutes.
Make sure you label and date your jars and store them in a cool, dark, dry place such as a pantry. Store in the fridge once opened.
Mould on jam
Question: If my jam has mould on the surface, can I just scrape it off and keep eating it?
Answer: No. Many people will tell you they’ve always done this and have come to no harm. But moulds, and the toxins they release, can penetrate more deeply than the eye can see – particularly in liquid or semi liquid foods such as jam – and can be harmful if eaten. It’s safer just to chuck it.
Microwave power cooking for 800W (reduced time for 1000W)
If you have overripe strawberries, you may want to add 1½ tablespoons of pectin to help the jam set.
Ingredients
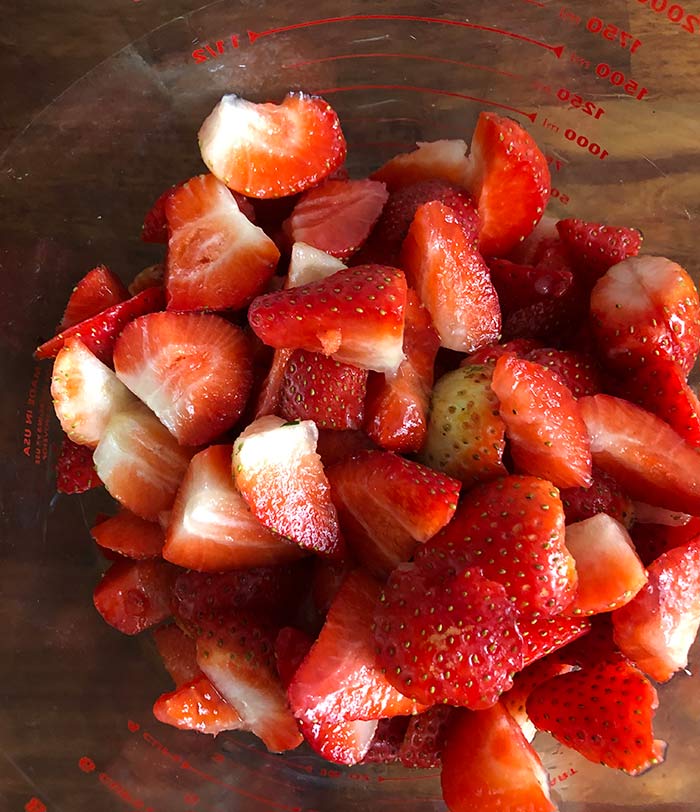
500g slightly underripe or just-ripe strawberries, hulled and sliced (room temperature)
1½ cups (300g) white sugar
Juice of ½ lemon
Method
Put strawberries in a 2–3L capacity heat-proof microwave-safe bowl or jug (e.g. glass Pyrex). Stir in sugar and lemon juice, mix well.
Microwave, uncovered, for 4 (3) minutes on HIGH (100%) power. Stir well, making sure all the sugar has dissolved.
Microwave, uncovered for a further 20 (15) minutes on MEDIUM (60-70%) power. Keep an eye on it, as you don’t want it to overflow.
Check if jam has reached setting point by putting a teaspoon of jam on a saucer from the freezer. If the jam wrinkles and stays separated when you push your finger through it, it’s ready for the jar. If it doesn’t, continue cooking for a further 3 minutes.
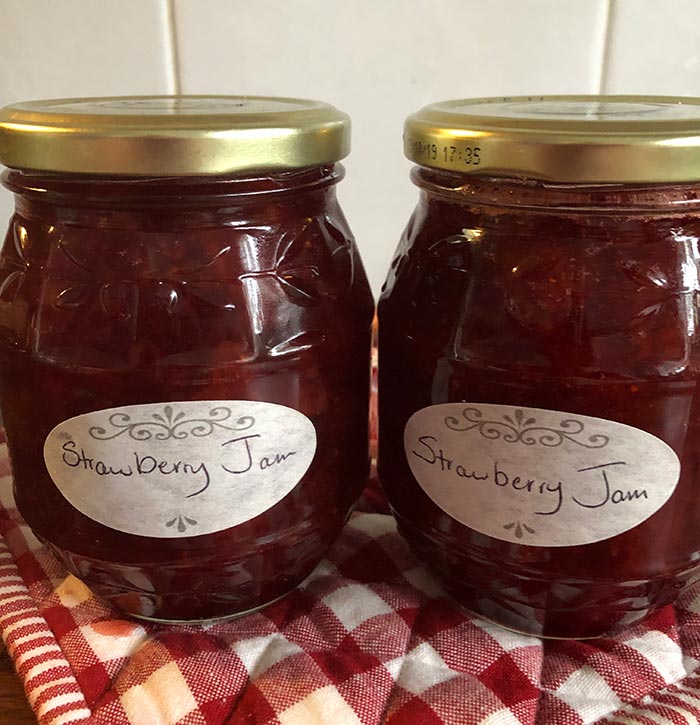
Fill the sterilised jars to the top with the hot jam. Screw lids on tightly and turn jars upside down for 2 minutes (this helps to seal and sterilise the lids well). Turn right side up to cool.
Once opened, store in the fridge.
Preserved lemons recipe
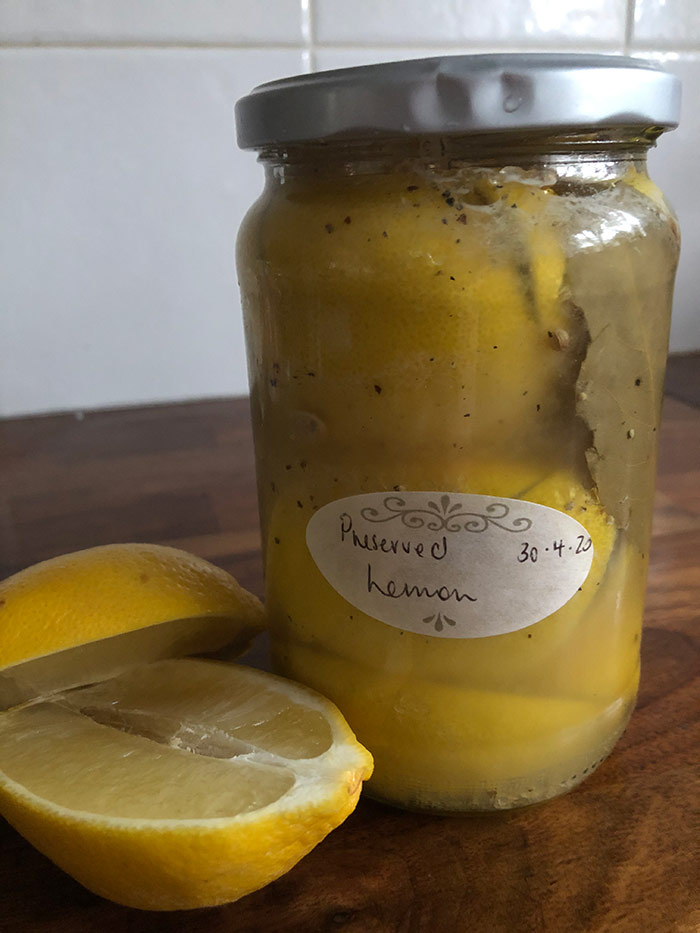
Fiona’s preserved lemon
How to preserve lemons
Preserved lemons have a mellow, zesty, salty flavour and are popular in Middle Eastern and North African cooking.
For this recipe, you’ll need two 600–800g capacity jars with food-grade lids and wide openings. Sterilise the jars first.
Ingredients
1kg small lemons, unwaxed
150g sea salt
1 tsp black peppercorns
2 bay leaves
1 tsp coriander seeds
Method
Wash and scrub the lemons and pat dry. Put aside 3 lemons for the juice.
Cut the lemons in quarters from the top with a sharp knife, but keep the bottom intact.
Rub a good amount of salt into the flesh of the lemons.
Pack the salted lemons into the sterilised jars, sprinkle in the remaining salt and spices.
Squeeze the juice from the unsalted lemons, removing the seeds, and pour equally into the jars over the salted lemons until the lemons are covered completely. Use water if you need to.
Seal with a food-grade lid.
Allow to pickle for 4 weeks to soften the skins before using.
Notes
Lemons can be sliced, finely chopped or left whole for preserving, but recipes that include preserved lemons tend to use only the rinds.
To use preserved lemons, take a lemon from the jar and rinse it under cold water to remove the brine. Scrape out the flesh and discard. Make sure the other lemons left in the jar are covered with the liquid.
Use preserved lemon in stews, roasts, salads, dressings or combined with olives.
How to make pickles
Pickling is the process of using vinegar and salt to preserve food, and add flavour at the same time.
“Pickling fruit and veg is straightforward, you just need to follow a few simple rules,” says Fiona.
Here are the basics.
Top tips for pickling
Fruit and veg
Produce must be fresh when pickled. Choose farm fresh or organic, and choose fruit and vegetables that are uniform in shape and preferably small.
Wash and scrub the food well to get any dirt off and remove any leaves or flowers too.
Salt
Use a fine-grain salt as it will dissolve quickly. If using sea salt, make sure it has dissolved completely.
Most salts are OK as long as they don’t contain additives such as anti-caking agents. You can also use iodised table salt, but it may turn the brine a cloudy colour.
Vinegar
Use white distilled or cider vinegar.
White vinegar is good for pickles that require a clear colour such as pickled garlic or cauliflower. Malt vinegar is good for pickled onions and apple cider vinegar is best for a sweet pickle such as cucumbers and cabbage.
For a crisp pickle, use cold vinegar. For soft textured pickles, use hot vinegar.
Pickling spice
Herbs and spices give your pickle a lovely flavour and aroma. The most common spices used in pickles are peppercorns, fennel seeds, bay leaves, mustard seed and coriander seeds. You can also use sprigs of herbs such as dill or tarragon.
Store-bought pickling spice (Hoyts brand, just over $2 for a 35g packet) contains mustard seeds, black peppercorns, dill seeds and whole allspice.
Method
For crisper pickles, put the vegetables (whole or sliced) into a wide bowl and spread a layer of salt on top. Cover and let sit overnight in a cool place. Discard the liquid that comes out of the vegetables, then rinse and dry them before pickling or canning as usual. The salt helps to pull the moisture out of the vegetables and makes them crisper.
Measure or weigh carefully, because the proportion of fresh food to other ingredients will affect flavour and, often safety.
Make sure you don’t run out of brine! Use a measuring cup to measure the volume of water your jar(s) will hold, then make sure you prepare enough brine in advance.
Give quick pickles at least a couple of hours for the flavour to develop before eating. For other pickles, leave for at least 4 weeks if you can. Pickles will last unopened for about a year.
Make sure you label and date your jars and store them in a cool, dark, dry place such as a pantry. Once opened, they can be stored in the fridge.
Recipes for pickles
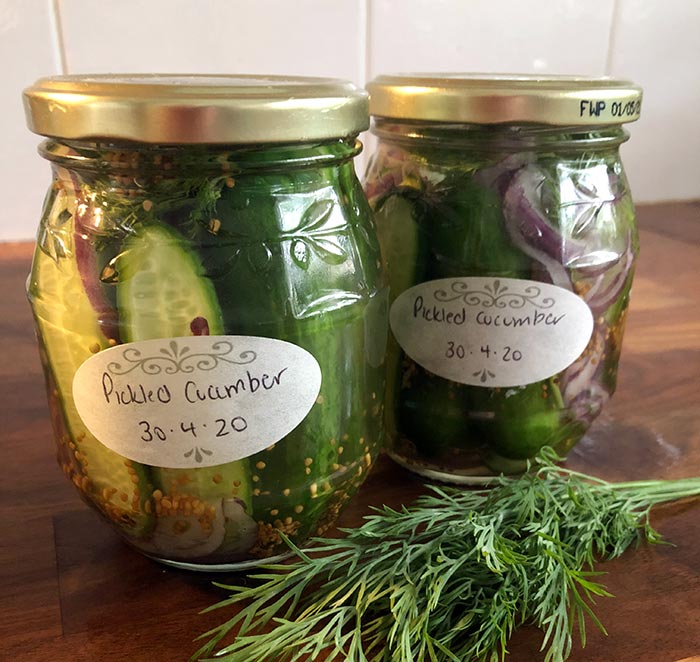
How to pickle cucumbers
Fiona’s pickled cucumber
For this recipe, you’ll need 2 x 450mL–capacity sterilised jars at least 10cm high, with food-grade lids.
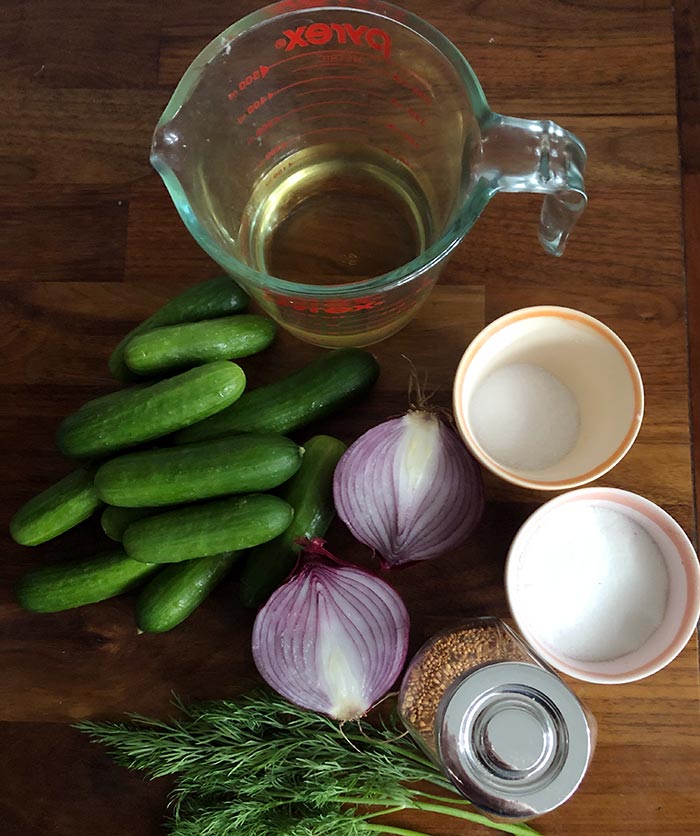
Ingredients
300g baby cucumbers (qukes), or 2 regular-sized Lebanese cucumbers, washed
½ red onion, peeled and finely sliced
2 teaspoons mustard seeds
Dill sprigs (optional)
2 teaspoons salt
60g (3 tablespoons) caster sugar
150 mL (⅔ cup) apple cider vinegar
150 mL (⅔ cup) water
Method
Cut the small cucumbers in half lengthways. If you’re using regular cucumbers, slice them in half, then slice each half in quarters lengthways.
Put the cucumbers and the sliced onion in a colander and sprinkle over 2 teaspoons of the salt. After 30 mins, rinse under cold water.
Put dill, salt, mustard seeds, sugar, vinegar and water in a saucepan and bring to the boil. Stir until the sugar and salt dissolve. Allow to cool.
Pack the cucumbers into the sterilised jars, taking care not to pack them too tightly as they will bruise. Then pour over the vinegar liquid, making sure the cucumbers are covered completely. Top up with water if necessary.
Seal and leave for at least 24 hours before using.
Notes
Unopened, the pickle will last in the sealed, sterilised jars for about a year.
Serve in salads, potato salad, burgers, sandwiches and on antipasto plates.
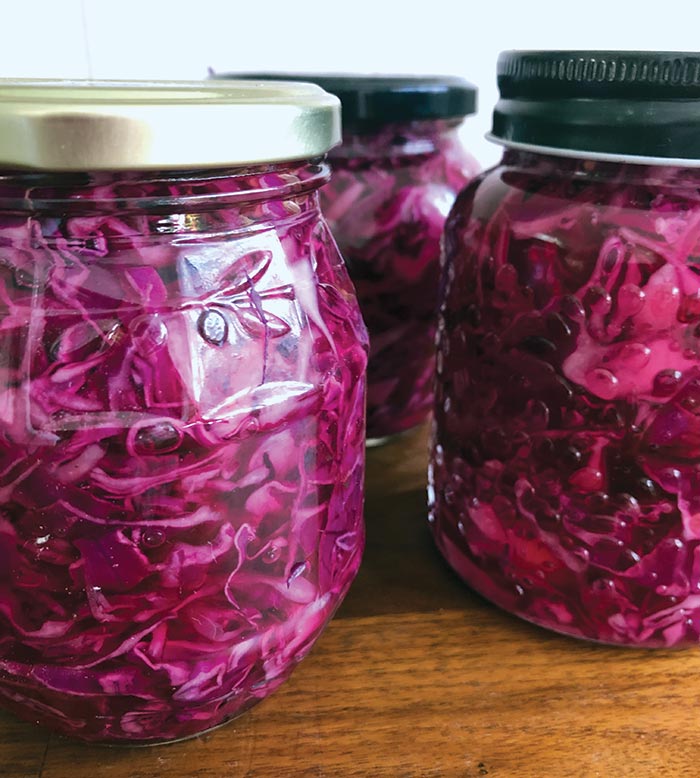
Quick red cabbage pickle recipe
Fiona’s red cabbage pickle
One for the sauerkraut fans. For this recipe you’ll need two or three 400mL capacity sterilised jars.
Ingredients
½ head red cabbage, core removed
500mL (2 cups) boiling water
500mL (2 cups) apple cider, rice or white vinegar
1 tablespoon salt
1 tablespoon sugar
3 bay leaves
3 teaspoons store-bought pickling mix (or mix together 1 teaspoon each of coriander seeds, caraway seeds and black peppercorns)
Method
Slice the cabbage into thin shreds using a food processor with a thin slicing blade, a mandolin, or a sharp chef’s knife. Put the shredded cabbage in a bowl.
Combine the boiled water, vinegar, salt, and sugar in a large jug.
Fill each jar to ¾ full with cabbage. Put a bay leaf and 1 teaspoon of the pickling mix into each jar, add more cabbage and fill to the rim.
Slowly pour over the hot brine until it reaches the top, and seal with the lid. Turn upside down a few times to mix well. Refrigerate.
Notes
Unopened, the pickle will last in the sealed, sterilised jars for a few months. Use within a week of opening.
Serve in salads, burgers, tacos and as a side dish for meats.
How to dehydrate fruit and veg
There are many reasons you might want to dehydrate fruit and veg. First, they have a satisfying crunchy texture, and make great, healthy snacks for adults and kids alike. Second, they’re lightweight and easy to carry, making them good for travelling and camping trips. Third, they have a long shelf life, if you store them correctly. Fourth, they’re extremely versatile.
“Dehydrated vegetables can be rehydrated in soups and stews, stir-fries and rice dishes,” Fiona explains.
“And dehydrated fruits are great in cereals, as toppings for yoghurt and ice cream or made into sauces.”
Best foods for dehydrating
You can dehydrate most fruits, including berries, bananas, stone fruits, mangoes and pineapples. Tomatoes, carrots, beetroots, kale, onions, peas, corn and broccoli also dehydrate well.
How to dehydrate food
The easiest way to dehydrate fruit and veg is to use a food dehydrator or an oven.
Food dehydrators are usually large plastic boxes with stackable trays, or several trays that slide in and out. They have a heating element and a fan that circulates the warm air through the unit to dry out the food. Dehydrators operate at about 50–60°C for most foods (70°C for meats). The time taken will vary depending on the moisture content, but is about 10–16 hours. They can cost anywhere from $130 right up to $800 , and they tend to be noisy.
Ovens with a fan-forced function will do the same job. The oven temperature needed for dehydrating most fruits and vegetables is about 90°C. Just remember that your oven will be busy for up to 6 hours.
Fiona suggests that if you don’t have a dehydrator, and don’t want your regular oven tied up for hours on end, you can instead use:
a benchtop oven with a fan, although you won’t be able to do multiple-shelf cooking and therefore bigger batches. Leaving the door ajar reduces the amount of condensation build-up.
an air fryer with a dehydrating function, although the surface area only allows for small batches.
Drying times
Depending on the food thickness, water content and what type of dehydrator (or oven) you have, dehydrating can take anything between 3 and 16 hours.
“The longer the food is dehydrated, the crispier it becomes,” says Fiona. “A shorter time will give a chewier texture.
“Always check the food dehydrating every couple of hours.”
Top tips for dehydrating fruit and veg
When preparing fruit and veg for dehydrating, wash and dry them first, then slice them thinly and evenly so they’ll dehydrate evenly. If you dehydrate foods regularly, Fiona recommends investing in a decent mandolin or a food processor with a slicer attachment.
Foods such as apples can oxidise and discolour quickly. To stop this happening, brush them with lemon juice after slicing.
Rotate the tray positions every couple of hours to ensure even dehydration.
You can dehydrate different foods at the same time. Just make sure you don’t have foods with strong aromas such as onions and garlic dehydrating alongside more delicate foods such as strawberries, as the smell can be absorbed by other foods and affect taste.
Fruits with mostly water content such as watermelon are best made into a fruit leather. Blend with another fruit and spread thinly on a tray to dehydrate, then cut into strips.
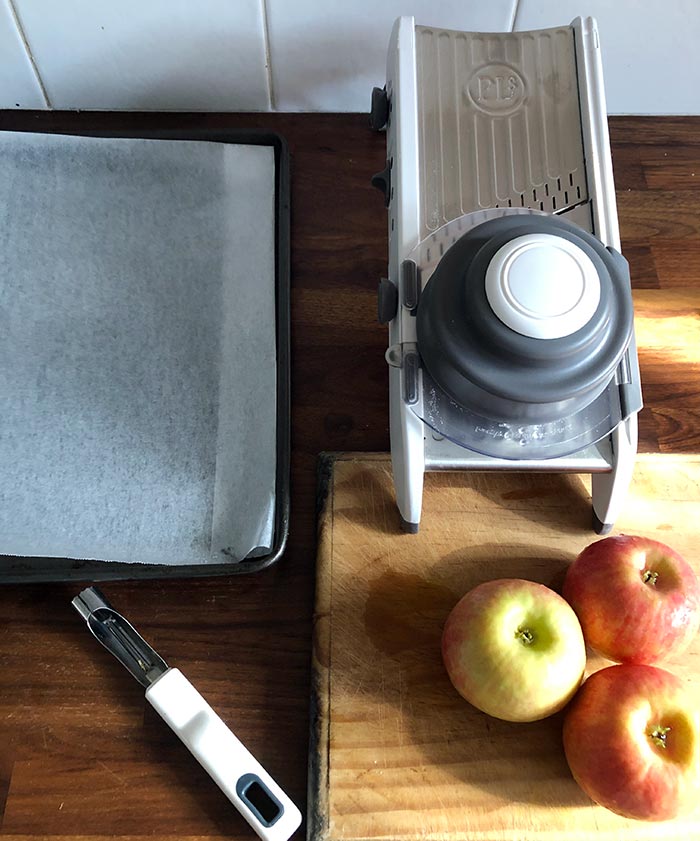
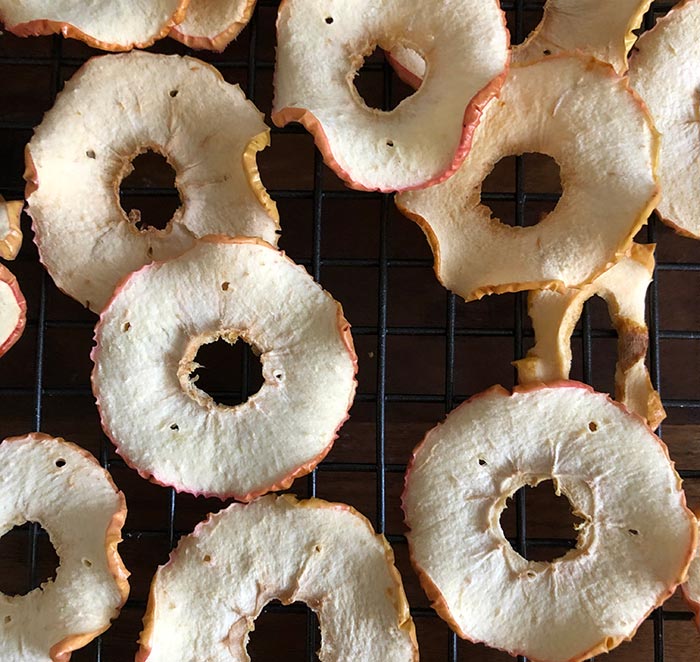
Apple chips recipe
Fiona’s apple chips
Ingredients
2 large apples (Gala, Fuji, Pink lady)
1 tablespoon lemon juice
Method
Preheat oven to 90°C (fan forced).
Wash and dry apples well. Remove the core.
Slice thinly (2mm thick) using a very sharp knife, a mandolin or food processor (you will need to cut the apple to fit the chute, then slice using the finest slicing disc).
Place the slices on a baking tray lined with baking paper.
Brush each slice with lemon juice to stop the apple browning.
Bake for 3 hours. Remove the tray from the oven and cool on a rack until crisp
How to sterilise jars
Before making any jams, preserves or pickles, you’ll need to sterilise the jars you’ll be storing them in.
You can do this easily on the cooktop, in the microwave or oven, and even in the dishwasher, using the following methods:
Cooktop
Put jars and lids separately in a stock pot, cover with cold water, and bring water to the boil over high heat.
Reduce heat to medium and boil for 10 minutes.
Remove the jars using tongs and let them dry on a clean tea towel.
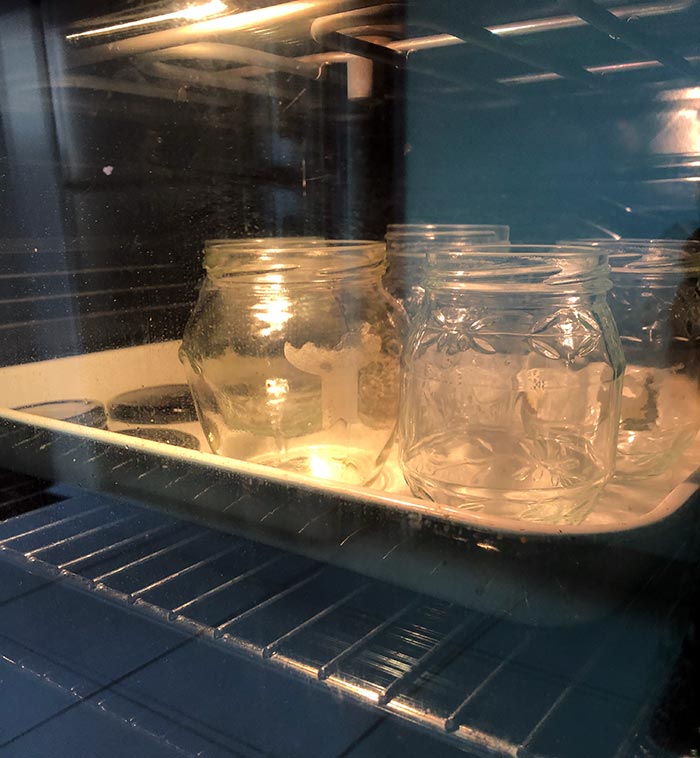
Oven
Preheat the oven to 100°C.
Place jars (upright) and lids (separately) on an oven tray and heat in the oven for 20 minutes.
Microwave
Add ¼ cup of water to each jar and put in microwave
Heat jars (not lids) on high for 2 minutes, or until water is boiling
Take care when removing the very hot jars – use tongs or oven gloves
Wash lids well and boil in a saucepan for 10 minutes
Dishwasher
Put jars (and lids) through a hot dishwasher cycle.
A word on lids
Fiona recommends that you use new jar lids for a tight seal.
“Make sure the lids are food grade – the type with a white, waxy plastic protective coating on the inside,” she says.
To ensure a good seal, always wipe the rim of the jar clean after filling it and just before putting the lid on.
Other ways to preserve food
Preserving, pickling and dehydrating are just three of the more simple methods you can use at home to prepare fresh produce for long-term storage.
For more about food preservation, see our articles on:
Rachel Clemons is an award-winning journalist who worked at CHOICE from 2004–2022.
During her time at CHOICE her core focus was on food and nutrition, from reviewing breakfast cereals and fast food to dispelling myths about the benefits of detox kits and gourmet salt or translating confusing food labels – with the occasional taste test thrown in for good measure.
Prior to CHOICE she lived overseas, working predominantly in hospitality when she wasn't travelling and eating her way through various cuisines. She holds a Master of Science in Nutrition from King's College London (where she also researched and wrote for CHOICE's UK sister organisation, Which?), and a Bachelor of Science, Health Sciences from the University of Adelaide.
In 2017 she won the Dietitians Association of Australia's Nutrition Journalism Award and she's currently on the Steering Committee as a Parent Member of Parents' Voice.
You can find her on Twitter and LinkedIn.
Fiona Mair tests and compares appliances in the CHOICE kitchen lab, from ovens, cooktops, BBQ's and air fryers, to espresso machines, blenders, food processors, microwaves, frypans and more. Fiona is also involved in Test Research, to help manufacturers with their product development for kitchen appliances. Fiona also conducts and judges food taste tests and is a judge for Sydney Royal Fine Food Show. She develops consumer-focused recipes and technical methods for testing kitchen appliances.
Fiona has a degree in home economics and dietary supervision. Fiona has been at CHOICE since 1997 and previously worked as a dietary supervisor at a children's hospital.
Fiona wants to help people to save time and money in the kitchen, reduce waste and landfill and to enjoy eating foods they've prepared from scratch.
You can find me on LinkedIn.
For more than 60 years, CHOICE has been fighting the good fight for Australian consumers.
In the past year alone we've uncovered systemic issues with sunscreens, investigated shonky supermarket pricing, fought for stronger scam protections and helped make complex energy pricing fairer and clearer.
CHOICE is here to provide unbiased advice and independent testing in our world-class labs. We buy the products we test, just like you do, and our expert reviews are influence free. We’re here to help you choose smarter. Hopefully you’ll also save some money along the way.
Thanks to CHOICE, you’ll never be alone when a business treats you unfairly. You can support our work by joining or donating to our cause.