Windows has a huge range of free, built-in security features beyond the standard antivirus and firewall (though it has those, too). And it scores well when put up against some paid third-party services in our security software reviews.
A lot of the more important tools are on by default, but that doesn’t mean there aren’t some inactive settings you might find handy.
Everyone’s preferences differ when it comes to protecting their digital lives. Here’s an overview of what Windows Security (previously Windows Defender Security Center) can offer you.
Before you get started
These security features are for those running Windows 10 Home or Pro with no additional security services. Windows 11 has the same features, but its menu system is slightly different.
If you have a third-party security service, Windows Security will automatically disable itself or certain features to avoid conflicts or unnecessary use of computer resources. If you uninstall the third-party software, Windows Security should reactivate immediately.
For those running Windows 10 in S mode, some features and menu paths will be different. Windows 10 S is more strictly controlled than the more common alternatives and is more secure, but you sacrifice significant customisation and software options for this peace of mind.
Windows Security dashboard
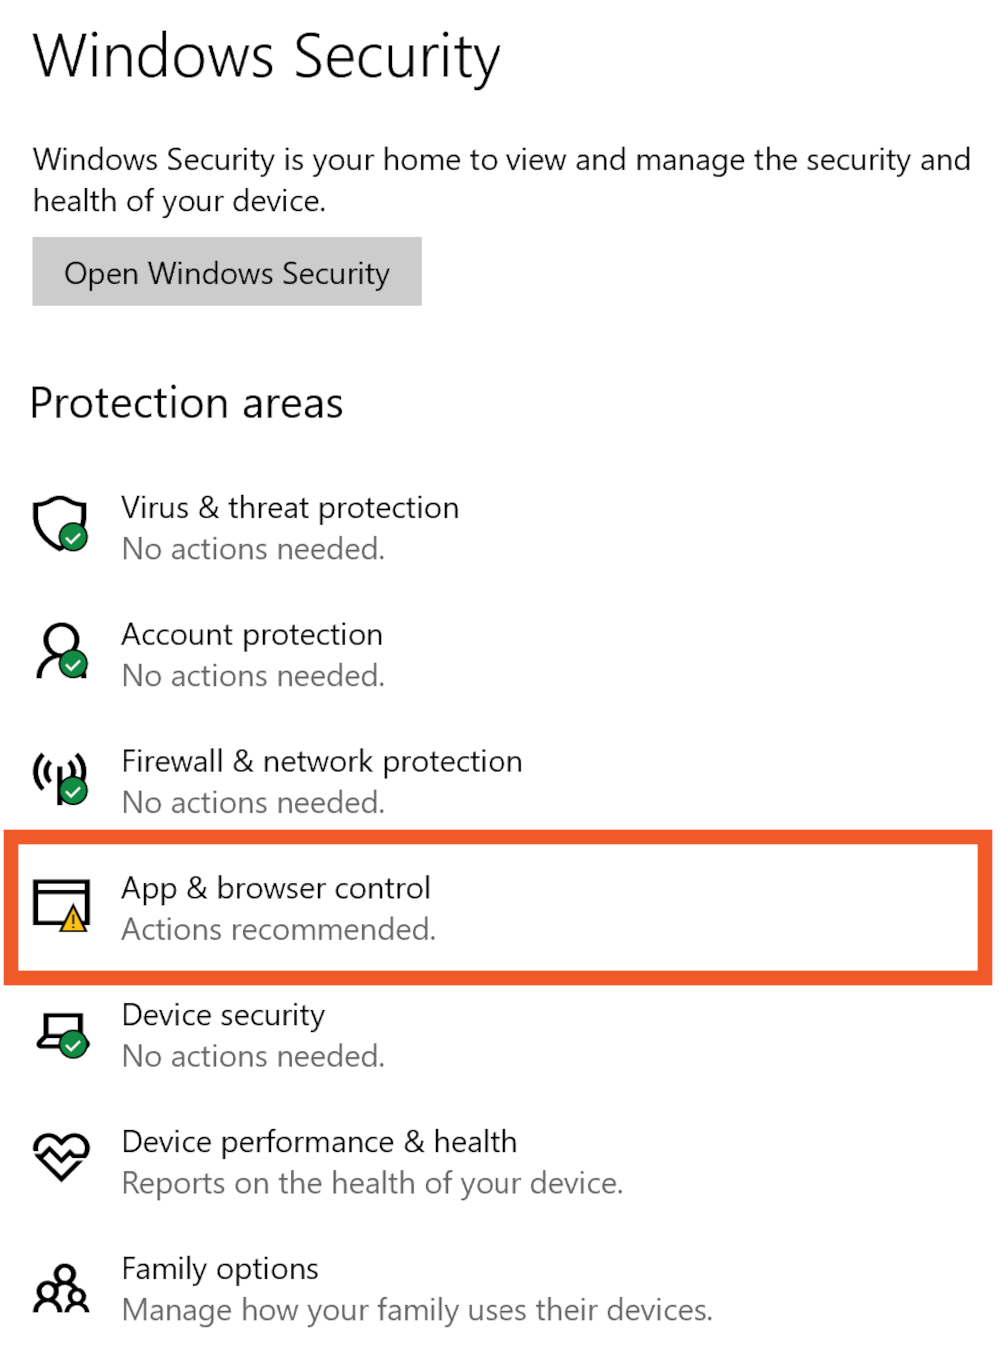
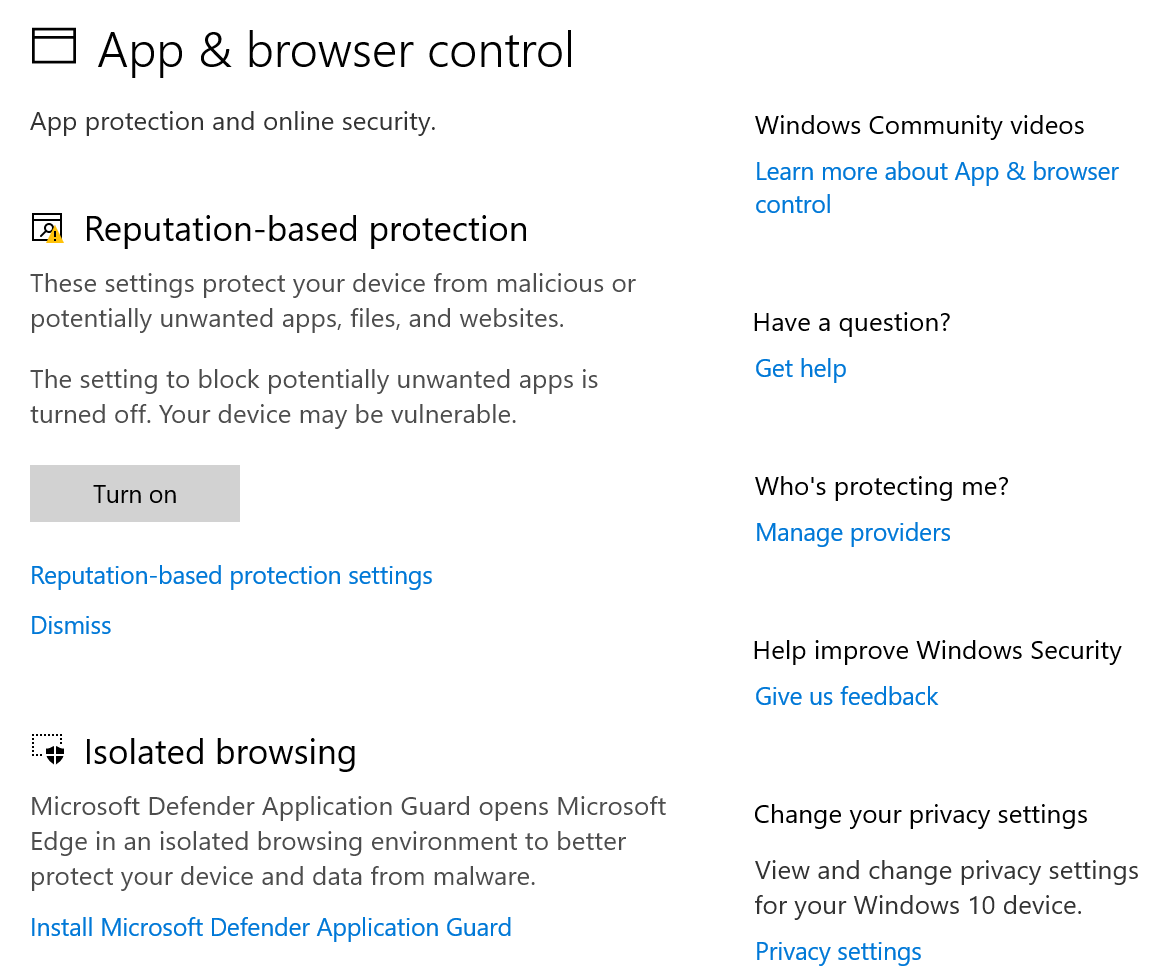
Windows Security has a dashboard for quickly checking vulnerabilities.
For example, if the app and browser control section has a yellow symbol with an exclamation mark, click on it to find out why.
You might discover reputation-based protection is off, which you can turn on with a single click or tweak in more detail using the link below the ‘turn on’ button.
To visit its menu page, go to Update & Security, then click on Windows Security.
Windows updates (and why you should do them)
Accepting the regular Windows updates is possibly the most important security measure you can take.
This isn’t an ever-growing pile of dishes or dirty laundry – unlike other chores, Windows updates don’t take longer the longer you leave them. It’s
more like leaving your front door a little wider open every couple of months or so.
And if you’re still using an older version such as Windows 8, 7 or the alarming number of diehards hanging onto XP, it’s either time to upgrade or make the free switch to Linux. When it comes to security, your front door isn’t just wide open, it has a neon sign blinking “free entry” for anyone who cares to look.
How to control when Windows updates
Unexpected installations don’t have to catch you off-guard – Windows gives you some control over when updates are applied.
Open your Start menu and go to Settings > Update & Security > Windows Update.
Check if you’re due for an update at the top of the screen. If you are, either update now or in the very near future.
You can set updates to only occur outside of your active hours, as long as your computer is on. It’s likely Windows has already estimated a time based on your regular activity, which you can view under Change active hours.
To adjust this setting, click on Change active hours and turn the toggle off. Next to ‘Current active hours’, click Change and choose your start and end times. It can’t be set on a per-day basis, so factor in your weekend and weekday needs.
To pause updates, head back to the Windows Update menu and hit Pause updates for 7 days. If you don’t need a full week, hit Advanced options and choose a specific date.
Microsoft Defender Antivirus is one of the core features of Windows Security and is enabled by default. It monitors your computer for threats, which it quarantines when identified, ready for you to remove or allow. If unable to quarantine, you’ll be notified if a hands-on approach is needed.
Scans happen periodically behind the scenes, but if you visit the Virus and threat protection menu section you can manually start a new scan at any time.
These scans come in four flavours: quick, full, custom and offline.
Quick scan (labelled ‘Scan now’ in previous Windows 10 versions) generally only takes a couple of minutes and you can keep using your PC while it runs in the background – although more hardware-intensive software might bemoan the reduced resources at hand.
Full scan runs through every file or program that’s currently running, which identifies in-progress risks. It can take longer than an hour.
Custom scan only focuses on files and folders you select. You can also set specific files and folders to always be excluded from regular scans, which is best done when you’re certain they’re safe and they would add considerable time to a scan.
Microsoft Defender Offline scan doesn’t require an internet connection and can succeed at removing some threats a full scan fails to handle. It uses the last-updated threat definitions your PC has on hand and can take around 15 minutes to complete. Keep in mind, this feature restarts your system, so save in-progress work beforehand.
The Virus and threat protection menu also shows a quick overview of current threats, pending updates and whether Microsoft thinks your protection settings are up to scratch. You can also see if your third-party security service requires your attention.
If you’re suspicious of some files and are unwilling to open them, you can send them to Microsoft for automated investigation. If you accidentally send something with personal information, Microsoft will alert you to this. And you’ll be notified if additional files are needed.
Controlled folder access (disabled by default) offers a level of ransomware protection. It looks for programs seeking to access your protected folders under suspicious circumstances. But Microsoft might have a different definition of suspicious than you, which can cause problems with how your apps function. If you enable this feature, you might find it best to only do so for folders containing sensitive files and information.
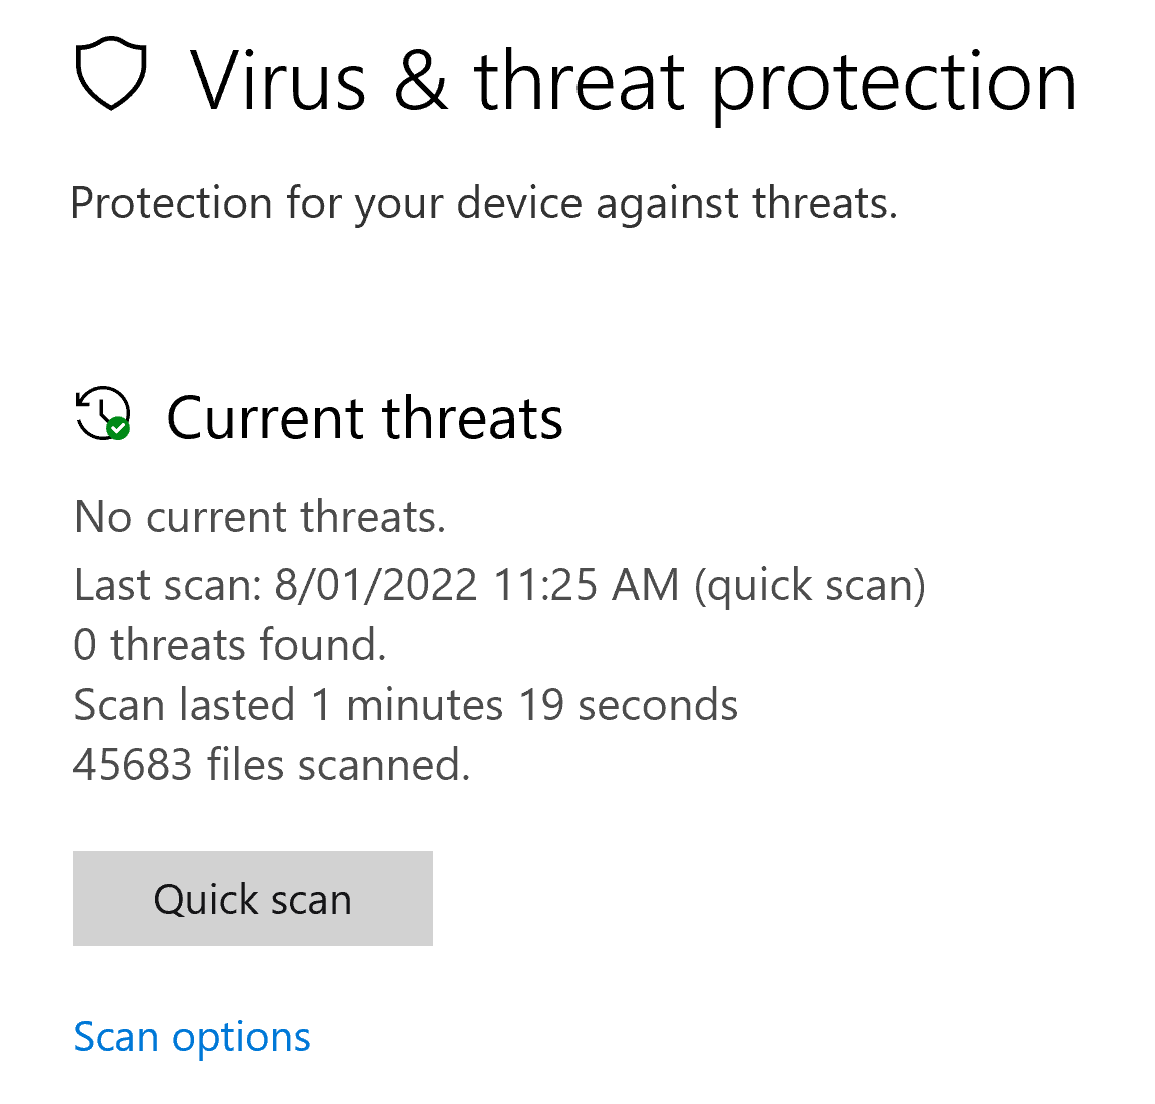
How to use Windows’ antivirus
To perform a scan, head to Update & Security > Windows Security > Virus & threat protection. From here, click Quick scan or Scan options if you want something else. Make your choice and click Scan now, but be careful to read the descriptions for each scan type so you know what you’re in for.
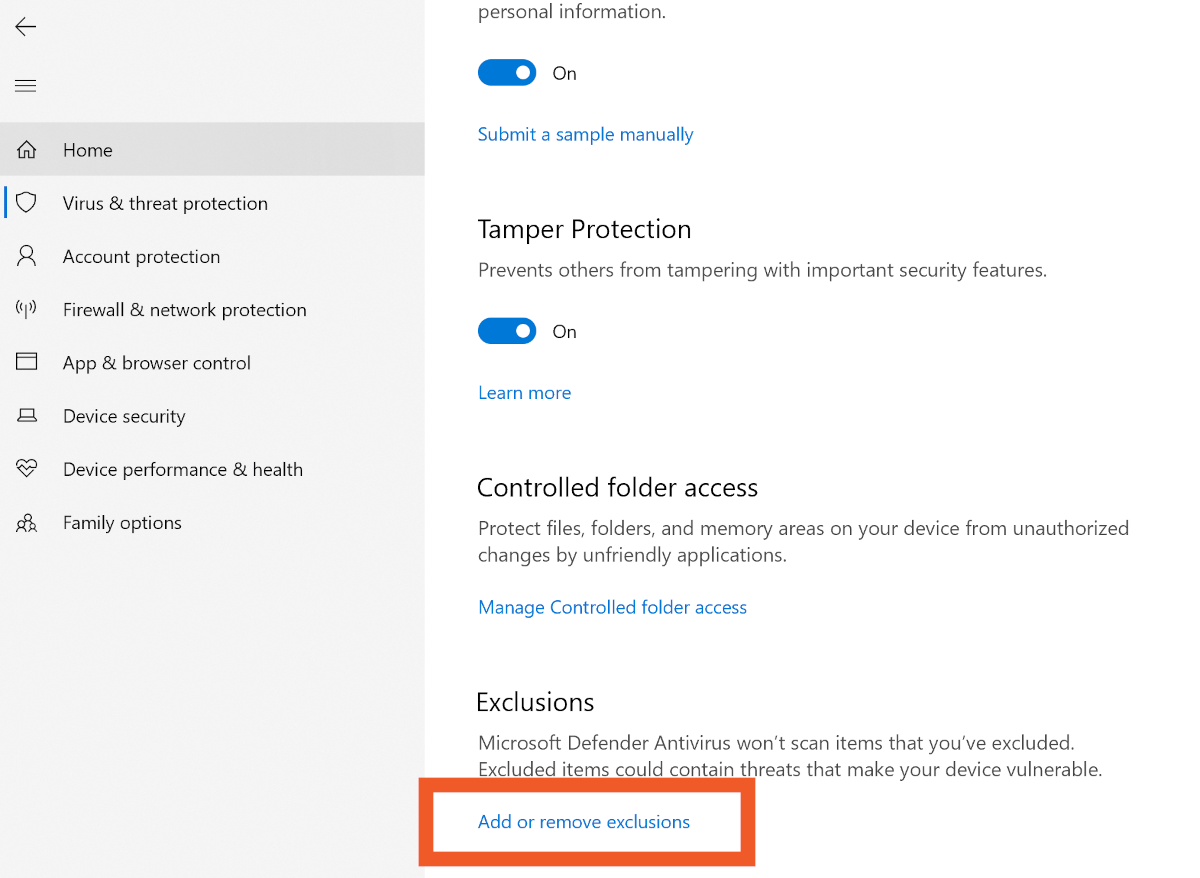
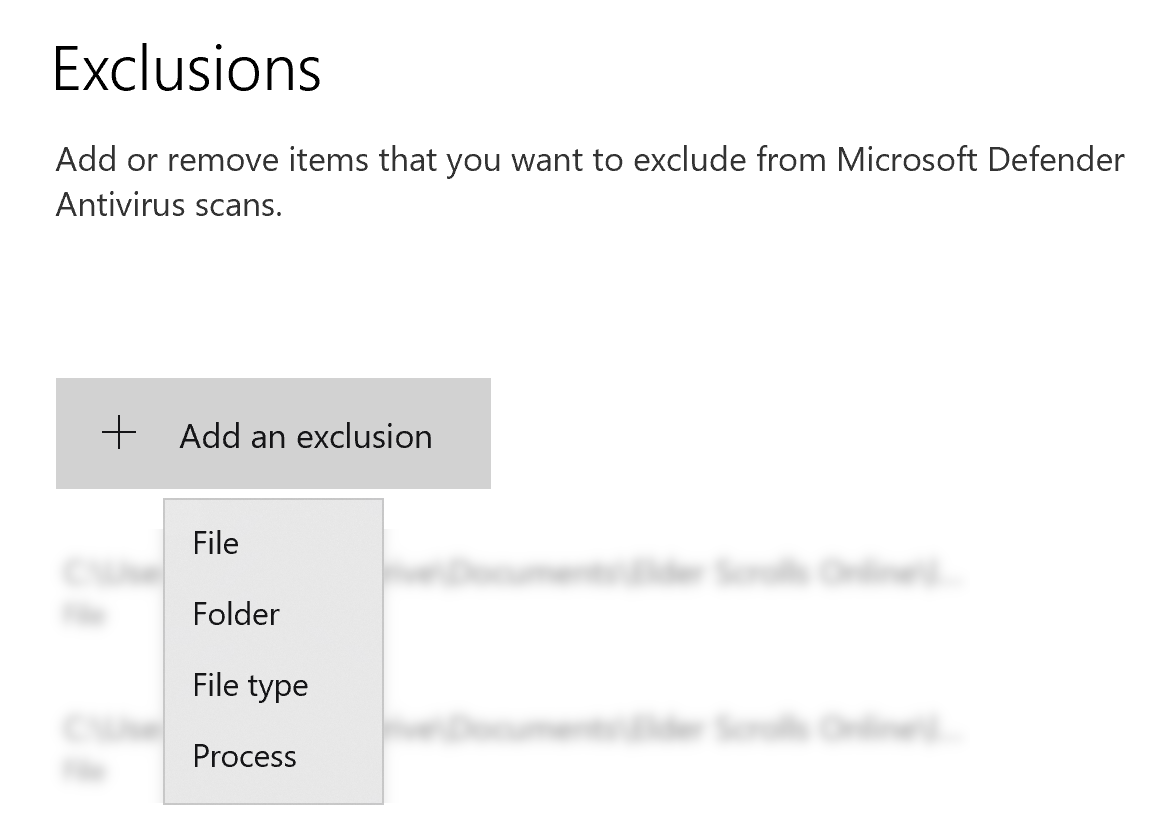
You can set up permanent exclusions for specific files, folders, file types and processes so they’ll never be scanned. Click on Virus & threat protection settings, then scroll down to Add or remove exclusions. Of the four choices, File and Folder are self-explanatory and easy to navigate.
File type ignores all files with a specific extension (for example, .docx files ignores all Word documents).
Process can exclude any file or folder opened by a specific process or program. These files and folders are still reviewed by on-demand or scheduled scans, but not in real-time while being used by the excluded program.
Process is particularly useful if you get an error warning along the lines of “Your antivirus is blocking part of this application’s functionality”, assuming you trust the application in question.
Remember, you’re responsible for any exclusions you create. You’re instructing Windows Security to ignore or partially ignore things it would otherwise scan. Any threats or potentially unwanted apps might go undetected or unchecked, so exclude with care and purpose.
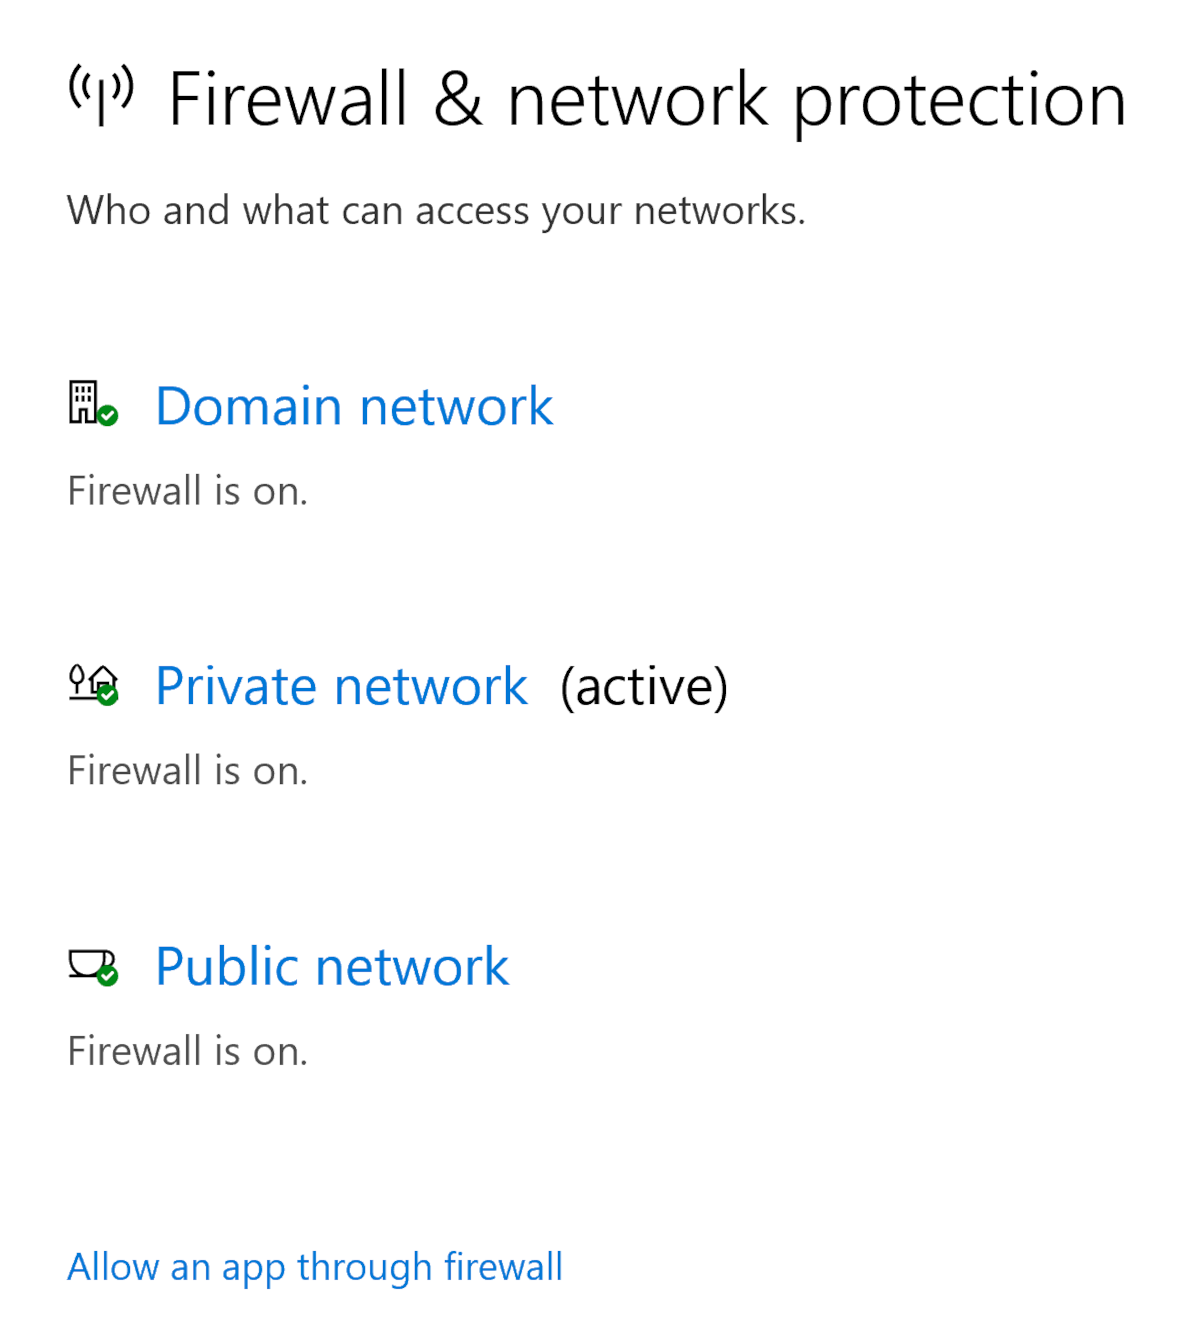
You can turn Microsoft Defender Firewall on or off for three types of networks: Domain (usually a workplace), Private and Public.
Ideally, you should leave all three enabled, unless you use a third-party security service that handles it instead.
Even if you disable the firewall on private or domain networks, always leave it enabled for public networks, which can be risky at the best of times.
The firewall sometimes stops apps from working, but that doesn’t mean you need to disable it.
You can create special exemptions, allowing specific software to bypass it. This comes with its own set of risks, so use it with discretion.
How to use Windows firewall
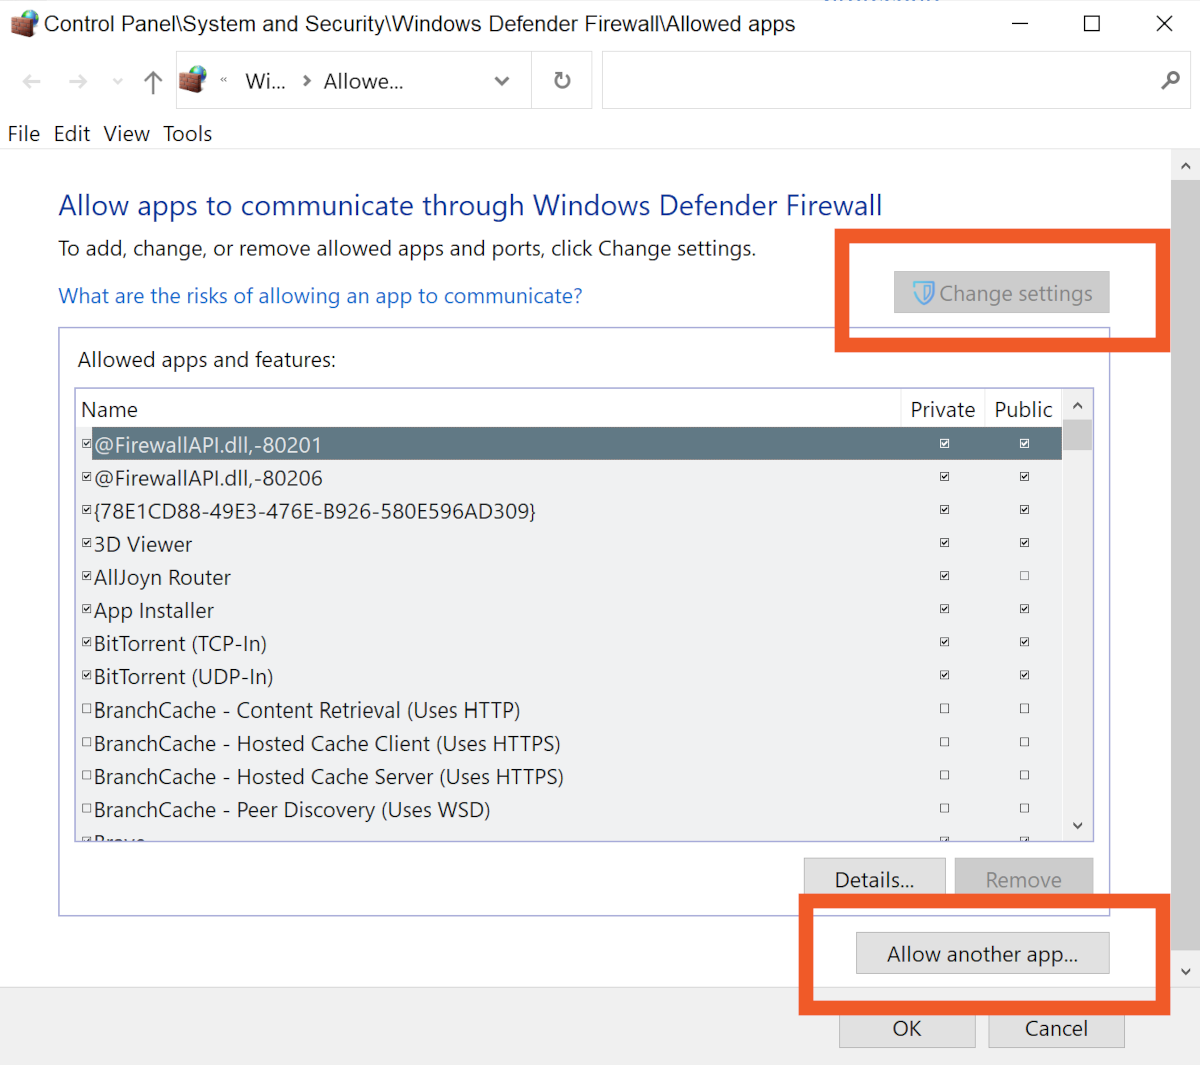
Windows’ built-in firewall can be overzealous at times. If it’s blocking files, folders or apps you need, you can create exclusions. From the Windows Security menu, click on Firewall & network protection > Allow an app through firewall.
Click Change settings > Allow another app… and use the browse option to locate it, then click Open > Add. When you’re done, click OK.
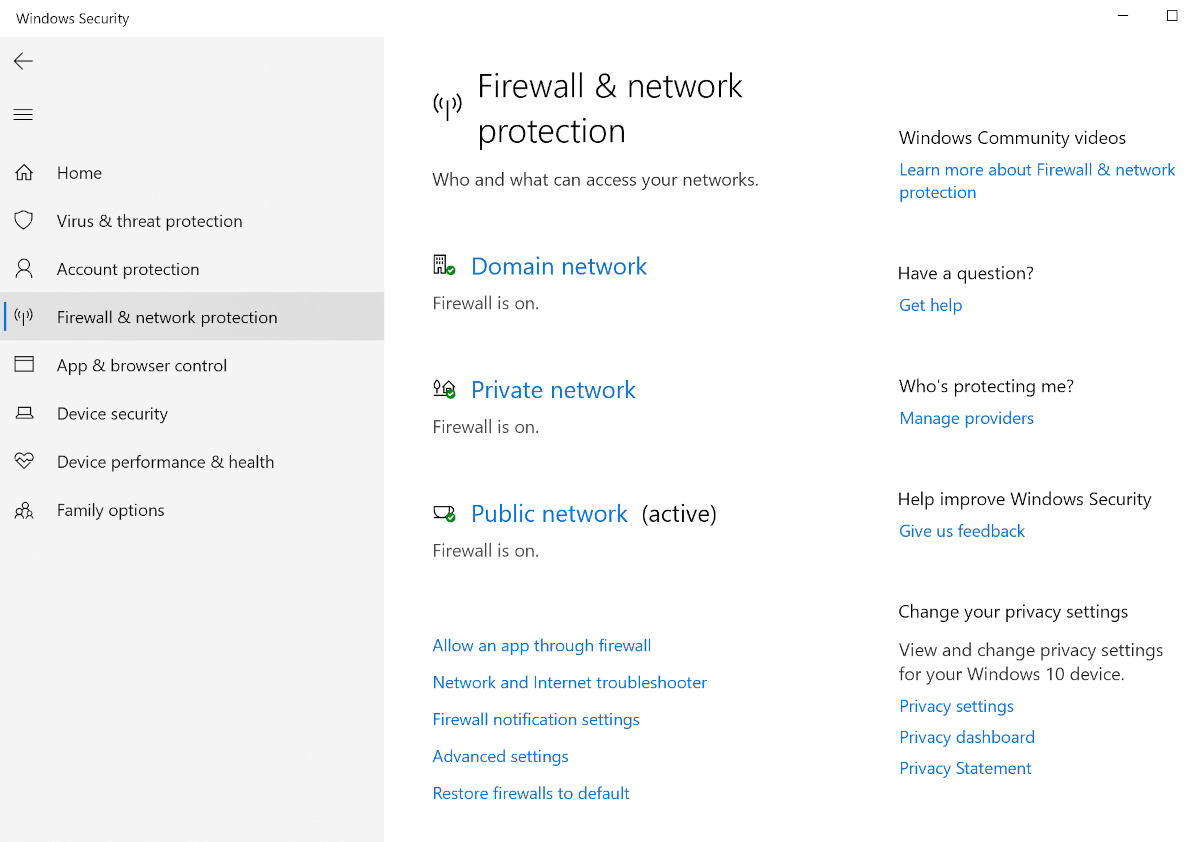
You can also disable the firewall for certain types of networks from the Firewall & network protection menu screen.
Domain networks are generally business environments, such as your workplace.
Private network can mean anything from your own home to a cafe with free Wi-Fi. If it’s the latter, treat it like a public network (from a security perspective).
Public networks are generally free Wi-Fi areas such as airports, hotels, and restaurants or cafes, etc. Seeing as anyone can connect to these, they’re a regular hotspot for cyber criminals. Make sure your security is up to scratch before connecting, and it’s best to use a good VPN service on top of whatever other precautions you take.
Network and sharing settings
You can set your computer to be discoverable or non-discoverable to other devices on the same network.
You might want your device to be discoverable on your private or domain network so you can share files or stream content from or to it with other devices on that network. However, when on a public network it’s best to remain hidden to avoid prying eyes.
How to change network discovery settings
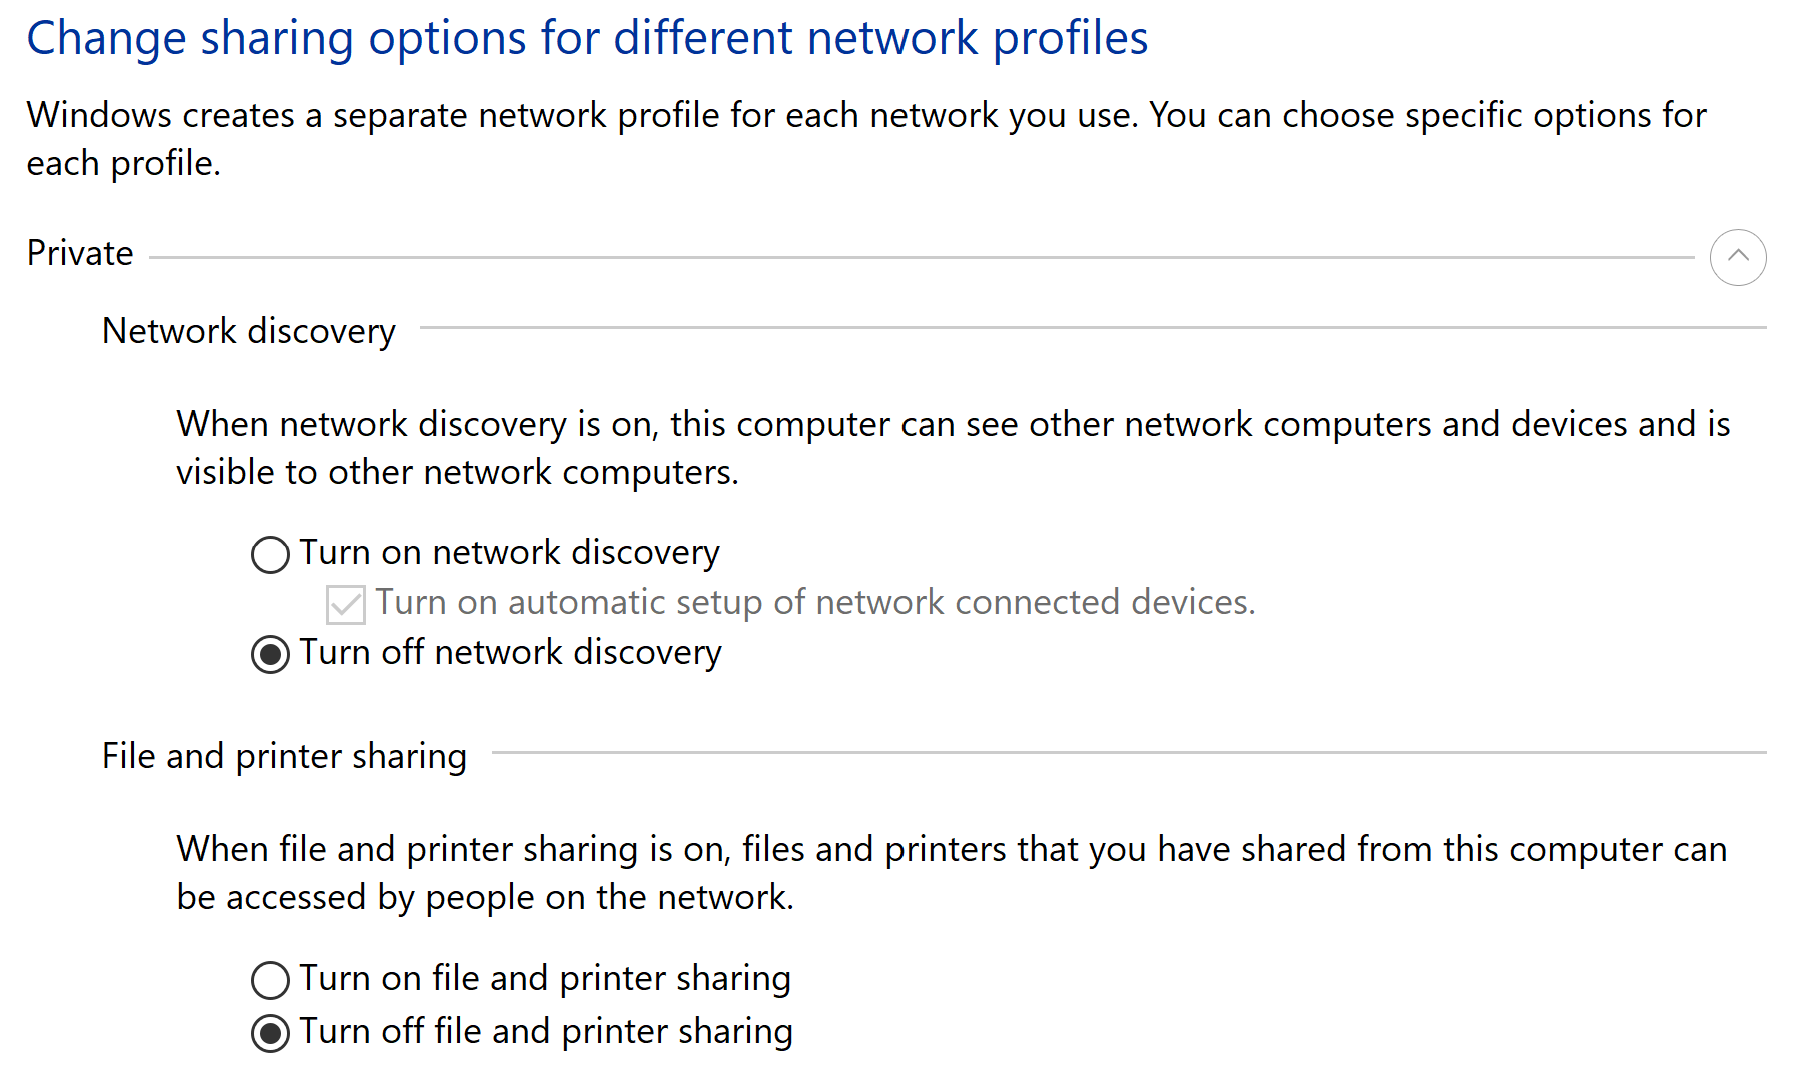
Go to Control panel > Network and Internet > Network and Sharing Center > Change advanced sharing settings.
Here, you can control your settings for Private, Guestor Public, and Domain networks individually. There are also some additional settings in the All Networks section.
To control network discovery, expand the type of network you’d like to change settings for and make your changes. The choice is binary: turn discovery on or off. When it’s on, other devices can see your PC. When it’s off, they can’t.
But even if you turn off discovery, you can still allow printers to find you if you need to print documents via a local network (e.g. Wi-Fi connected printers).
File sharing is controlled via the All Networks section. Public folder sharing should be off by default. It allows other computers on your local network to view, edit, and save files on your computer.
Media streaming lets you – you guessed it – stream media to other devices on the same network. The other devices can’t edit your files, only access the media files for their listening or viewing pleasure. This generally works even while your PC is in sleep mode, though not for all devices.
File sharing connections sets the level of encryption required between your file sharing devices, which encodes information while it’s in-transit, making it essentially useless for outsiders who manage to eavesdrop on your cross-device conversations.
By default, it’s set to 128-bit encryption, which is pretty hard for outsiders to crack. You have the option of allowing devices with lesser encryption standards to share files, but only do so if necessary.
Threat prevention via Microsoft’s Edge browser
Microsoft Defender Antivirus covers things already running on your PC, but doesn’t necessarily stop them getting there. That’s where SmartScreen is designed to come in.
It protects you from web-based incoming threats or potential nuisances based on the reputation of the website, service, app or publisher. But it requires you to use Microsoft Edge, rather than an alternative web browser such as Google Chrome or Firefox.
For example, if a website is known to be dangerous, Edge can display a warning screen that outlines the suspected threat and allows you to safely close the window or tab (or choose to proceed at your own risk). If you try to download a file flagged as suspicious, Edge gives you the chance to cancel it before the download commences.
You can ask to be notified when an app isn’t recognised by SmartScreen or disable all warnings and block completely.
This reputation-based approach can also block unwanted software that isn’t technically malware. While not necessarily dangerous themselves, these unwanted apps can lead to problems such as downloading malware that will do harm, slowing your computer by using it for such things as crypto mining or being part of a botnet, or annoying you with ads, among other things.
Application Guard is another Edge feature, but one which you might have to download (depending on your PC) and isn’t on by default. It can open untrusted websites in a virtual container that’s isolated from the rest of your PC. To do so, your computer must support virtualisation, which you might need to enable in the BIOS (Basic Input Output System) during start-up.
Microsoft likens this isolated browsing to opening a can of soft drink inside a plastic bag. If the can fizzes everywhere, the damage is contained and you can safely view the whole show then throw it in the garbage.
Some settings let you interact with the contents of your virtualised container, but increase your risk. For example, you can print files or save data for later (for opening again in a virtualised container), among other things.
Hardware security
Windows’ Hardware security (also called Device security) is only available to PCs that meet certain requirements, which are:
TPM 2.0 (trusted platform module 2.0)
Secure Boot enabled
DEP
UEFI MAT
Memory Integrity support
Core Isolation support.
Most PCs from the past couple of years will meet these requirements, but once you get back to 2018 or earlier it becomes unlikely.
You’ll know immediately if your device can handle these features by visiting the Device security section of the settings menu. If the menu page says “Standard hardware security not supported”, you’re out of luck. Although desktop users could potentially upgrade their CPU to a compatible one.
The main reason your PC might not support hardware security is probably TPM 2.0, which PCs from prior to 2018 are unlikely to have. See our Windows 11 preview for more information on which devices are likely to have TPM 2.0.
The two major features are Core Isolation and Secure Boot.
Core Isolation is a virtualisation-based feature that separates malware and other attacks from your operating system and device, similar to Edge’s isolated browsing feature. Memory Integrity is part of Core Isolation. It helps protect you against malware masquerading as low-level drivers, such as those which allow your wireless keyboard to interact with your PC.
Secure Boot stops malware from loading when you turn on your device. Some sophisticated malware, called rootkits, start up before your operating system and thus might normally go completely undetected. Rootkits can be extremely harmful. They’re often part of entire suites of malware and can reach deep within your system, even capturing cryptographic data.
The vast majority of people will never need to interact directly with these features, but it’s reassuring to know they’re there, if you have them.
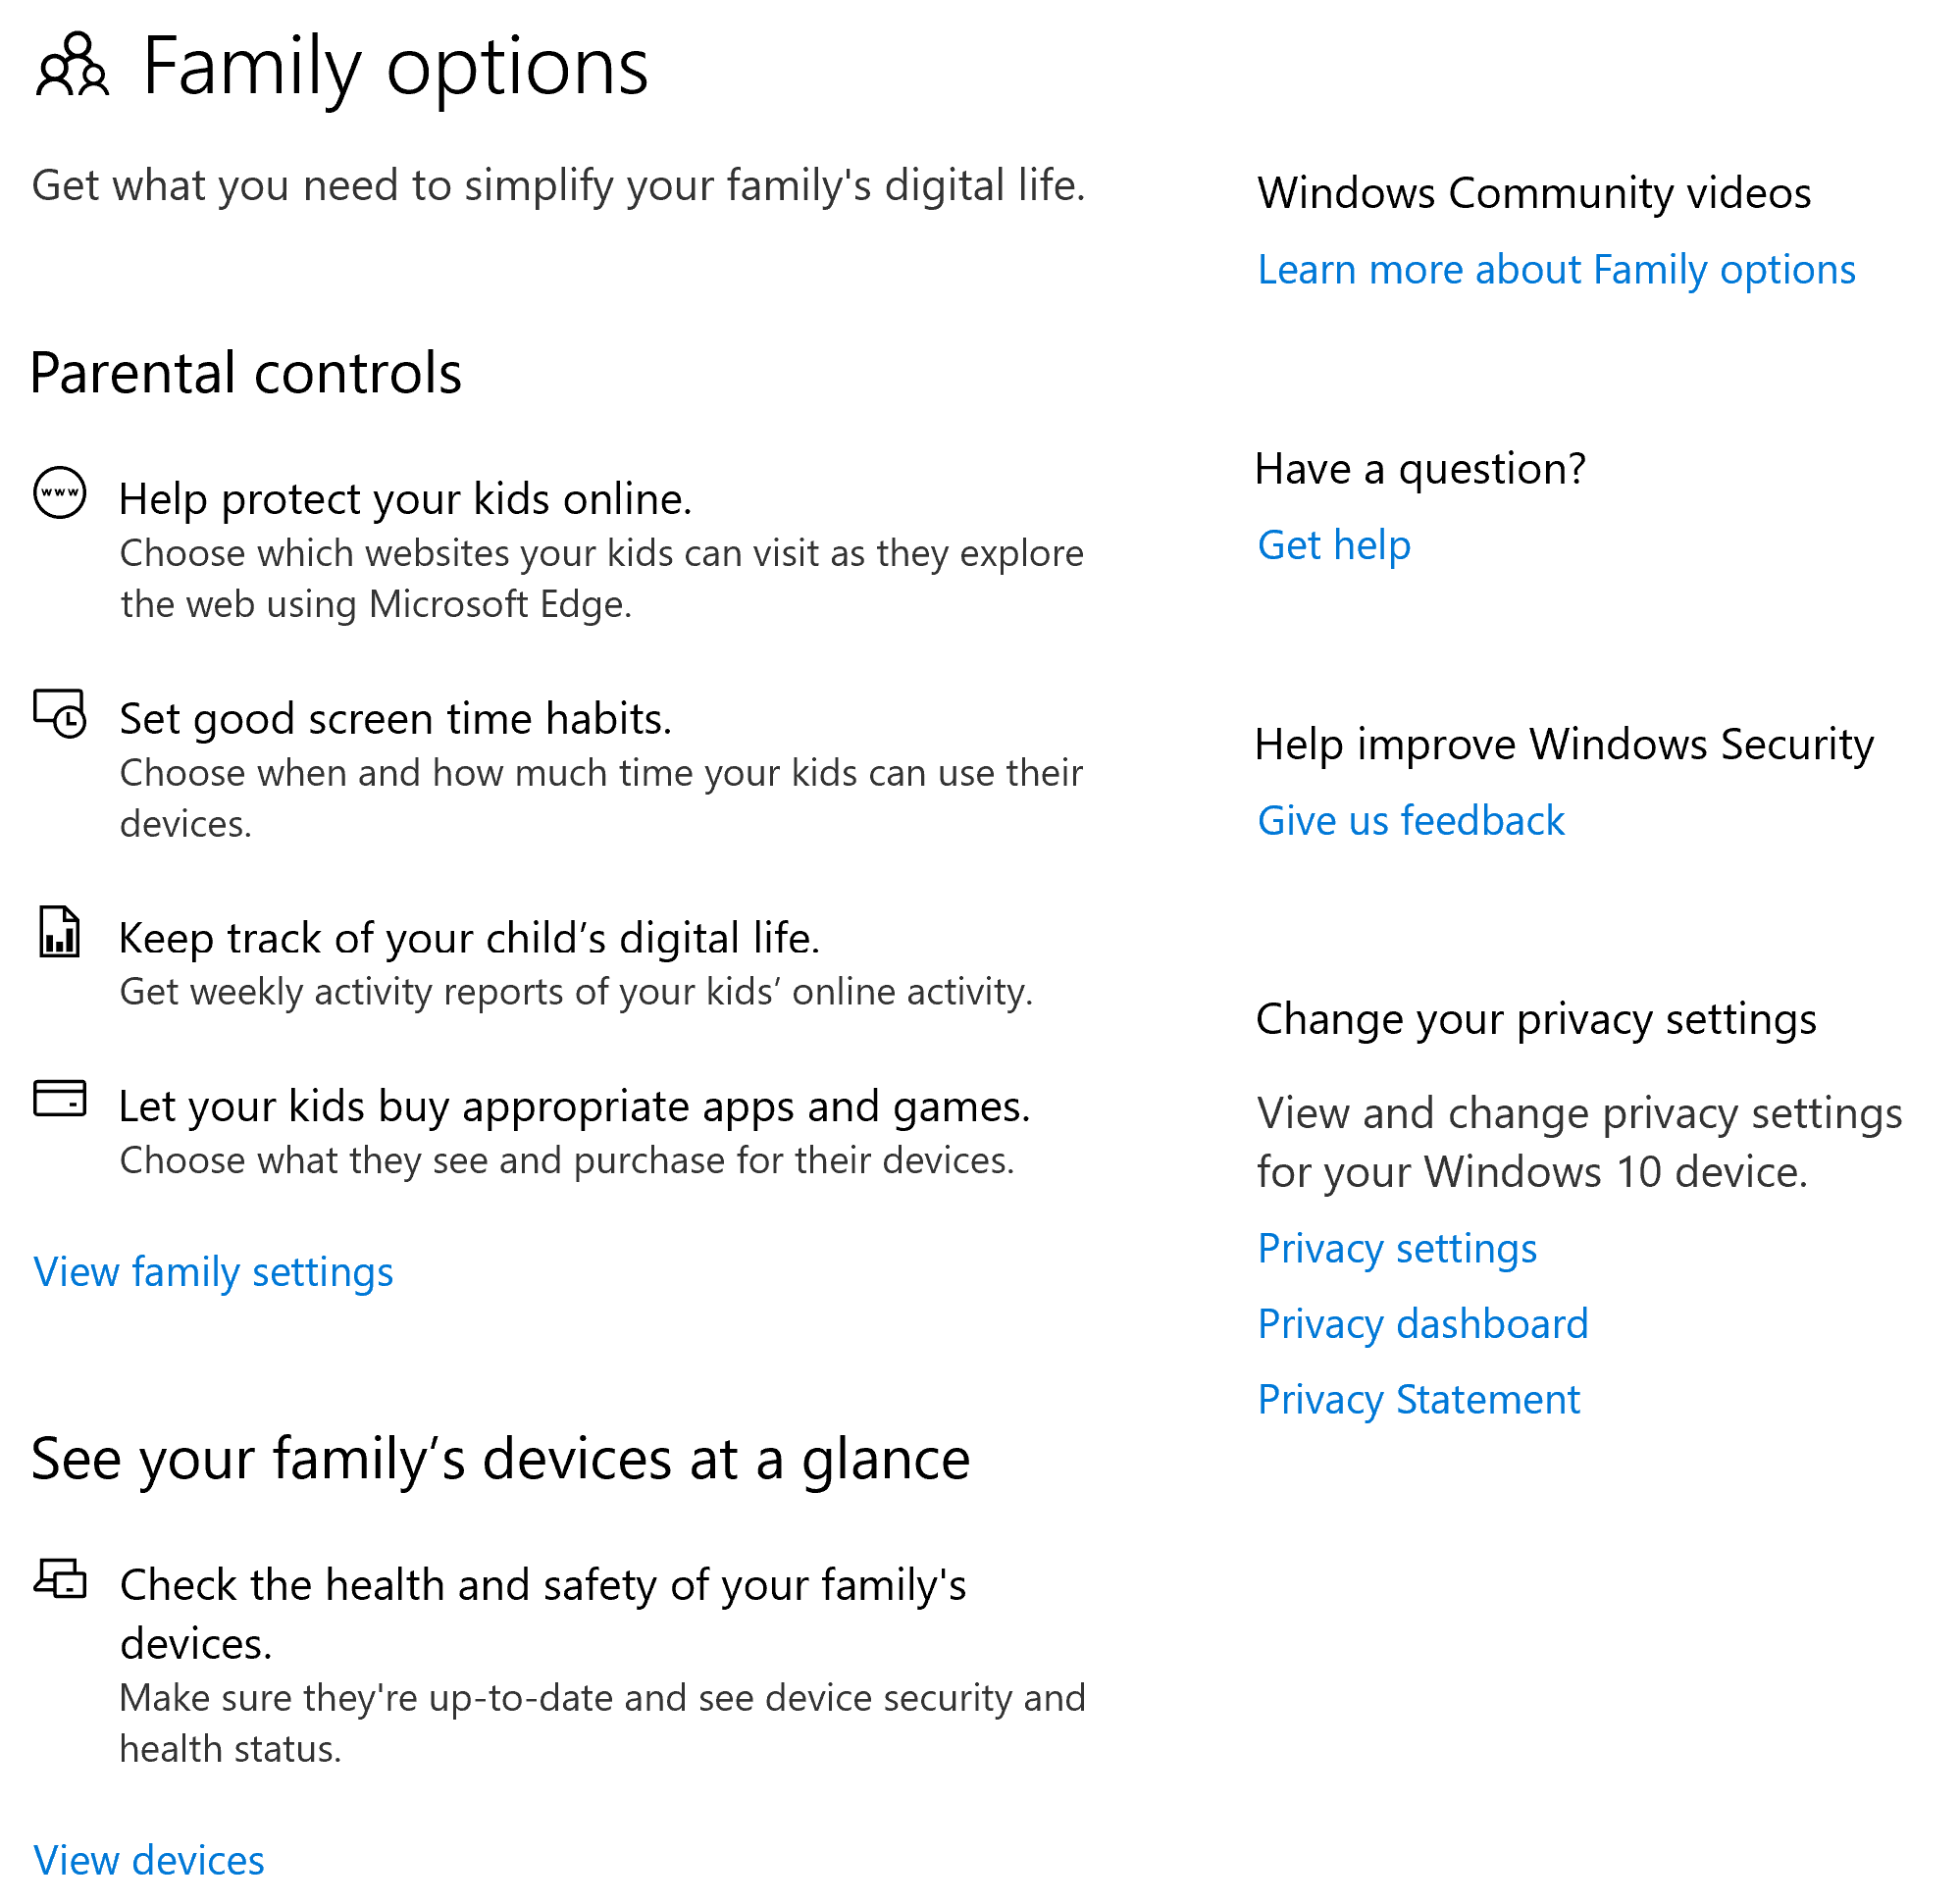
Windows family security settings
Windows 10 and 11 have parental controls covering a wide range of uses, some of which pertain to security. These features can only be used to control linked accounts on registered devices, so you need to set them up in advance per device.
Screen time sets limits across devices, apps and games for Windows and Xbox devices. These limits can be per device or across all of them. You can set a flat screen time limit, as well as time ranges within which devices can or can’t be used.
Find your family lets you check where on a map your family members are. It works with Android and iOS devices, so you can use your kids’ phones, too.
Content filters help make sure available content and websites are age appropriate.
Weekly updates on your kids’ online activities.
You can also make sure your family’s devices are getting the latest updates and view their health status.
Go to Settings > Update & Security > Windows Security then click Open Windows Security > Family options.
Lock and unlock Windows quickly
You probably use your Microsoft account to log into your Windows device or devices. This is a convenient feature, but also represents a single weak point that gives access to all your devices and OneDrive cloud storage, as well as the files, accounts, passwords and other info contained there, so it’s crucial to lock your device whenever you’re away from it.
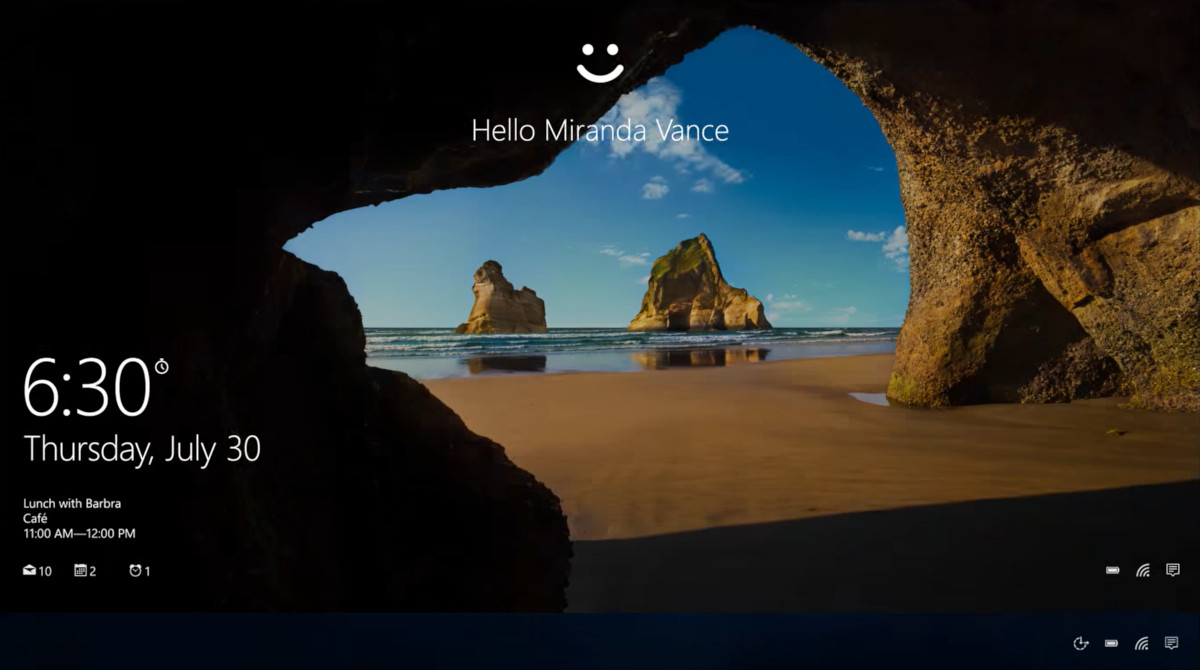
This isn’t the pain it may seem. To lock your device, press the Start key + L at any time. Alternatively, Dynamic lock uses trusted Bluetooth devices to gauge your proximity. If an authorised device leaves Bluetooth range, your PC automatically locks. To unlock it, you can use Windows Hello.
Windows Hello lets you unlock your device using your face, fingerprint, iris or PIN, among other options, assuming it has hardware capable of said security measures.
While you still need your password to initially set up your account on a device or to access it remotely, Windows Hello is for any time you unlock, restart or turn it on, saving you the hassle of typing in a full password while still affording some protection.
You can go the other way and opt for security over convenience. Two-step verification is one of the best security measures out there. The Windows Authenticator app (available for iOS and Android) adds an extra layer of protection by requiring a separate trusted device, as well as your signed-in Microsoft account.
This means hackers need physical access to your trusted device, which should have its own security measures such as a smartphone’s PIN, fingerprint scanner or face ID.
To set up Windows Hello and other sign-in features, go to Settings > Accounts > Sign-in options.
For more than 60 years, CHOICE has been fighting the good fight for Australian consumers.
In the past year alone we've uncovered systemic issues with sunscreens, investigated shonky supermarket pricing, fought for stronger scam protections and helped make complex energy pricing fairer and clearer.
CHOICE is here to provide unbiased advice and independent testing in our world-class labs. We buy the products we test, just like you do, and our expert reviews are influence free. We’re here to help you choose smarter. Hopefully you’ll also save some money along the way.
Thanks to CHOICE, you’ll never be alone when a business treats you unfairly. You can support our work by joining or donating to our cause.