Have you jumped on the bake-your-own bandwagon? If there’s anything regular pandemic lockdowns have taught us, it’s that taking the time to bake your own bread is not only a satisfying and pleasurable time-filler, but also often a better, tastier and healthier option than buying processed loaves from the supermarket.
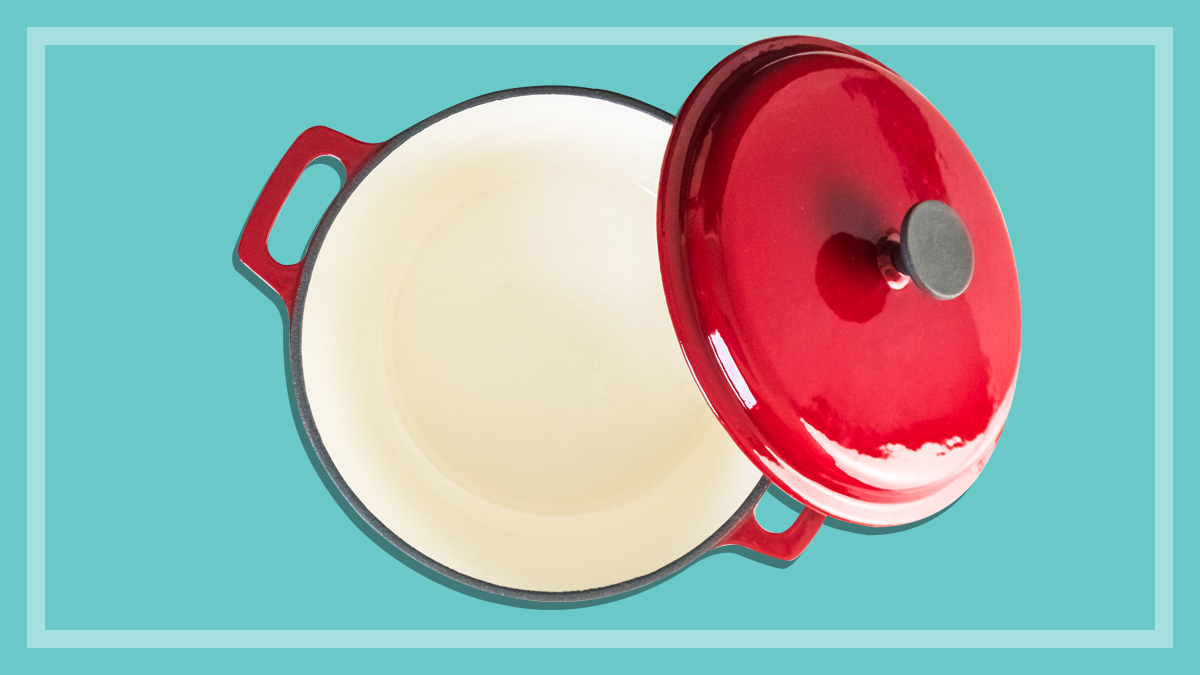
So if you’re running low on your sandwich stash and want to avoid a shopping trip, give this quick-knead recipe from our CHOICE kitchen experts a go. It’s so simple to make and there’s no breadmaker required: you can do it all in your trusty cast-iron pot (also known as Dutch oven). You just need to prepare it a day in advance.
“Dutch ovens are great conductors of heat, so if you bake bread using this method it will cook very evenly,” says CHOICE’s kitchen expert Fiona Mair.
“Baking with the lid on for the first stage traps steam inside the Dutch oven, which is what you need to get that initial rise. It also gives a nice shape and structure to your finished loaf.”
How your dough should look after step one. If yours looks a little dry, add some extra water, one tablespoon at a time.
Recipe for quick-knead bread
Ingredients
4 cups plain flour
1 tsp dried yeast
1 tsp sugar
1 tsp salt
450ml warm water
1 tbsp white vinegar
Method
In a large bowl, combine all the ingredients using a wooden spoon until the mixture resembles a stodgy, sticky dough.
Cover and let the dough stand overnight, or for approximately 8 hours. You may like to prepare the dough in the afternoon and leave overnight so it’s ready to bake in the morning. After resting, your dough will be bubbly and sticky.
Place dough onto a well-floured surface and knead for 4 minutes, adding flour as needed, until smooth and elastic.
Shape your dough by folding the edges into the centre, then turning it upside down and tucking in the sides to form a ball.
Line base and sides of a 4L or 5L Dutch oven with greaseproof paper and gently place the dough in the centre.
Pru Engel is the Audience and Engagement editor at CHOICE. Her job is to ensure as many Australians as possible know about the great work we do at CHOICE.
She works closely with our testers and experts to find the gems of information in our data and research that will resonate with Australian consumers and help them make the best decisions, whether they're purchasing an air fryer, looking for a new mattress or trying to find the cheapest car insurance. She also helps to drive meaningful change for consumers by collaborating with our Campaigns team on content covering issues such as grocery pricing, product safety and scams.
Prior to CHOICE, Pru worked as an editor at many of Australia's leading food and lifestyle titles.
Pru has a Bachelor of Arts in Communication (Journalism) from the University of Technology, Sydney.
Find Pru on LinkedIn.
Fiona Mair tests and compares appliances in the CHOICE kitchen lab, from ovens, cooktops, BBQ's and air fryers, to espresso machines, blenders, food processors, microwaves, frypans and more. Fiona is also involved in Test Research, to help manufacturers with their product development for kitchen appliances. Fiona also conducts and judges food taste tests and is a judge for Sydney Royal Fine Food Show. She develops consumer-focused recipes and technical methods for testing kitchen appliances.
Fiona has a degree in home economics and dietary supervision. Fiona has been at CHOICE since 1997 and previously worked as a dietary supervisor at a children's hospital.
Fiona wants to help people to save time and money in the kitchen, reduce waste and landfill and to enjoy eating foods they've prepared from scratch.
You can find me on LinkedIn.
For more than 60 years, CHOICE has been fighting the good fight for Australian consumers.
In the past year alone we've uncovered systemic issues with sunscreens, investigated shonky supermarket pricing, fought for stronger scam protections and helped make complex energy pricing fairer and clearer.
CHOICE is here to provide unbiased advice and independent testing in our world-class labs. We buy the products we test, just like you do, and our expert reviews are influence free. We’re here to help you choose smarter. Hopefully you’ll also save some money along the way.
Thanks to CHOICE, you’ll never be alone when a business treats you unfairly. You can support our work by joining or donating to our cause.