How to find the best photo book service
Our expert guide to comparing services, design options, price and tips for building a top-quality book.
Last updated: 14 Jul 2021

Photo book services can turn your holiday happy snaps into a professional-looking, coffee table-quality printed book, conveniently mailed to your home.
On this page:
When we tried out popular services in our photo book service reviews, we found a lot of variation in the features they offer, and in how they describe their offerings – which makes it tricky to compare your options.
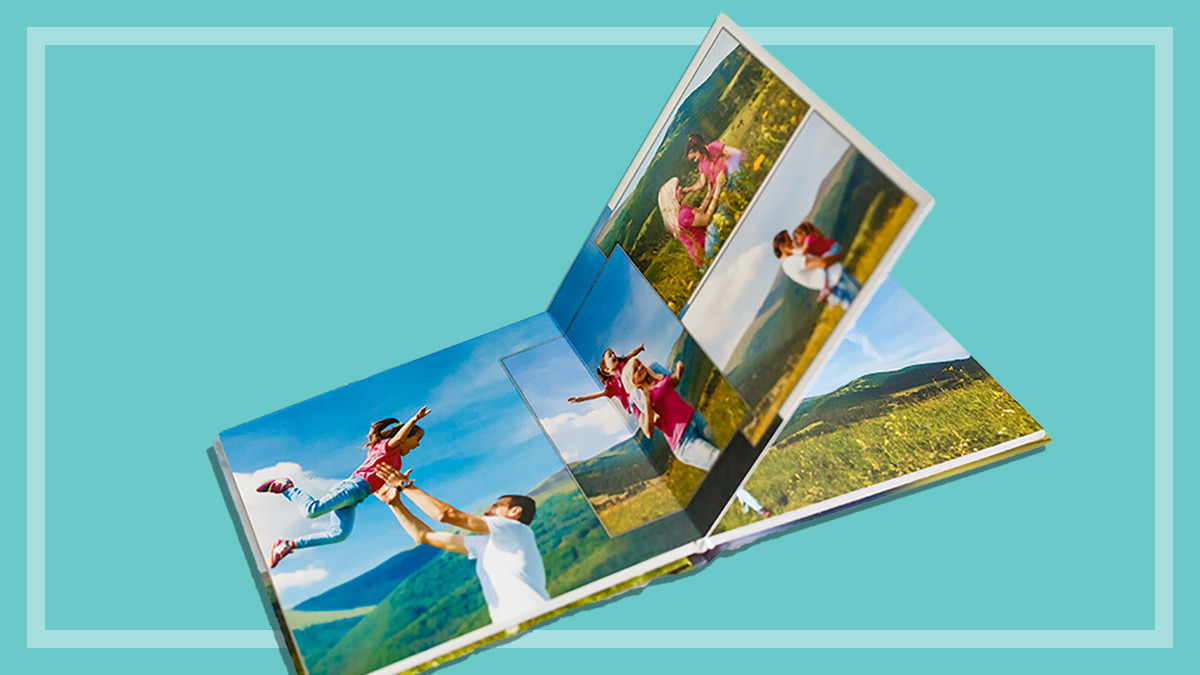
Photo book designs
Range of features
Design features can vary quite a bit between services. For example, each photo book service will have a range of sizes and various ways to cover and bind your finished book, including things like a photo cover, see-through cutout cover, fabric finish cover, dust cover, spiral binding and high-definition printing.
Depending on the service, you can make photo books from under 20 pages all the way up to a few hundred pages.
Some services let
you easily create your own layouts and arrange photos however you wish, while others make it difficult or restrict you to pre-made templates. But in
general, you’ll likely end up using default templates more often than not because they tend to be simple to use and well-designed.
Comparing services
Trying to compare book offerings between services can be confusing. There’s no standard for selecting book sizes, book types, paper types or covers. Book sizes can be described in inches, in centimetres, in page size (A5, A4, A3), or in words such as mini, small, medium and large, or portrait, landscape, square, and rectangle.
For covers, you may come across terms like imagewrap, coverphoto, debossed and linen, and it’s sometimes left to the accompanying pictures to help you figure out what the terms mean.
CHOICE tip: Double-check every option along the way when selecting a book type, book size, cover options and paper quality. When using drop-down menus, make sure the options you’ve already selected don’t change when something else is changed.
Web-based layouts vs downloadable programs
Most photo book services offer a downloadable program to design your book, before uploading the final version to the service for printing and delivery back to you. These programs usually offer better flexibility in terms of layouts and other features.
Many services also provide a web-based layout program, so it doesn’t matter what computer you’re using. This can be a quick and sometimes easier solution if:
- you want to make a basic book quickly, with less creative control
- you want to source pictures via social media. For example, some services let you input a webpage address (URL) and it’ll scan it for pictures to use.
Hardcover vs softcover photo books
Can’t decide on a cover style? Here are the pros and cons of each type.
Hardcover books
- Stronger, sturdier and can survive wear and tear better than softcover.
- Heavier, larger and usually cost more.
- A good hardcover should be able to open flat for two-page viewing without tearing or damaging the binding.
Softcover books
- Generally cheaper than hardcovers.
- They use a relatively lightweight cover material that may even be the same type of paper used for the inside pages (this is called a self-cover).
- Often ‘saddle-stitched’ (stapled and folded), but may also use other types of binding including glue along the spine.
- Usually not as strong as a hardcover book and can be more vulnerable to general wear and tear. The cover can also curl up noticeably after handling.
Creative control
It’s important to consider the versatility and flexibility of each program.
Your digital picture files can come from your PC, external storage drive or cloud services such as Dropbox. Some programs also let you select images from image hosting sites such as Flickr or social networks like Facebook or Instagram.
You might change your mind several times while designing, so look for a program that lets you easily rearrange images, move them to different pages, add or reduce the total number of pages or even completely overhaul your template.
Autoflow or auto-fill (the term changes depending on the programs) can automatically lay out pages, add text and arrange your photos.
You can usually change the number of pages without having to delete pictures, but some programs can only insert and delete pages one at a time, while others limit this function to double pages.
Prepare for a bit of work if you decide to overhaul your design, change the book’s size or switch its orientation (portrait or landscape) halfway through, as pictures will need to reformat to fit the new layout.
Re-ordering and duplicating
You may want to order more copies later of your completed project. This can be handy if you want duplicates for gifts, for example.
But some services let you go back to your completed photo book project and edit it to make an updated version.
How much do photo books cost?
The cost of your final book will vary, depending on a number of factors such as the size and style of your book, the number of pages and any special options you’ve added. Not all services give you a softcover option. And while adding pages will increase the cost, reducing pages below a photo book’s default allocation probably won’t make it cheaper.
In our most recent photo book services review, standard hardcover photo books range from just under $20 up to $78 (including any bank or foreign exchange fees incurred as part of the transaction, but not including shipping costs).
Be wary of delivery costs, as they can add substantially to the overall cost of your book, especially if you use express delivery options.
Alex Angove-Plumb worked at CHOICE from 2018 to 2024 as a technology content producer.
You can find him on LinkedIn.
Alex Angove-Plumb worked at CHOICE from 2018 to 2024 as a technology content producer.
You can find him on LinkedIn.