You generally don’t need to know how a camera works to take a decent picture. Automatic mode can make all the necessary adjustments required if all you want to do is capture special memories or moments for social media.
But this doesn’t give you much creative control or allow you to capture a good shot in less than ideal lighting conditions. Understanding the manual settings on your camera will give you more artistic flexibility and the ability to shoot in different environments. Plus, it’s a lot of fun.
Rather than explain what every single button, dial and mechanism is doing, this guide covers three key settings in photography: aperture, shutter speed and ISO. When you understand the principles, you can put them into practice and truly unlock what photography has to offer.
How a camera takes a photo
The key point you need to remember is that photography is all about light. Every setting will play a part in determining how much light is entering the camera, even if they do other things as well. When photographers talk about adjusting the exposure, they’re referring to adjustments made to various settings to determine how much light is coming in.
That said, the basic mechanics inside a camera are pretty simple. Up until digital photography came along, film cameras would capture an image by letting light fall onto film which created a negative. This technology remains unchanged in modern cameras except film has been replaced by a digital image sensor.
Inside the camera is a shutter. This protects the sensor from being exposed to light until you’re ready to take a picture. When you press the shutter button on top of the camera, the shutter briefly opens to let light in, then closes within an appropriate time to capture that moment.
The shutter is made up of two key components – the mirror and the shutter curtain. When light enters the camera through the lens, it bounces off the mirror upwards towards a prism which directs it into the viewfinder. This is so you can line up or compose your shot.
When you press the button to take a photo, the mirror flicks upwards, the shutter curtain opens and the sensor is exposed. Here, the sensor records whatever it “sees” until the shutter snaps shut. Then the camera software processes the image and it appears on the screen.
What about mirrorless cameras?
There’s an entire category of cameras that have done away with the mirror to save space and weight. This is also the case with compact models and smartphones. Instead, the shutter curtain is the only thing protecting the sensor from light entering the lens and the image you see through the viewfinder is a digital feed.
Aperture is a function of the lens that you can set with camera controls. It’s basically the camera’s pupil and is used to adjust two things: the amount of light that comes in and depth of field.
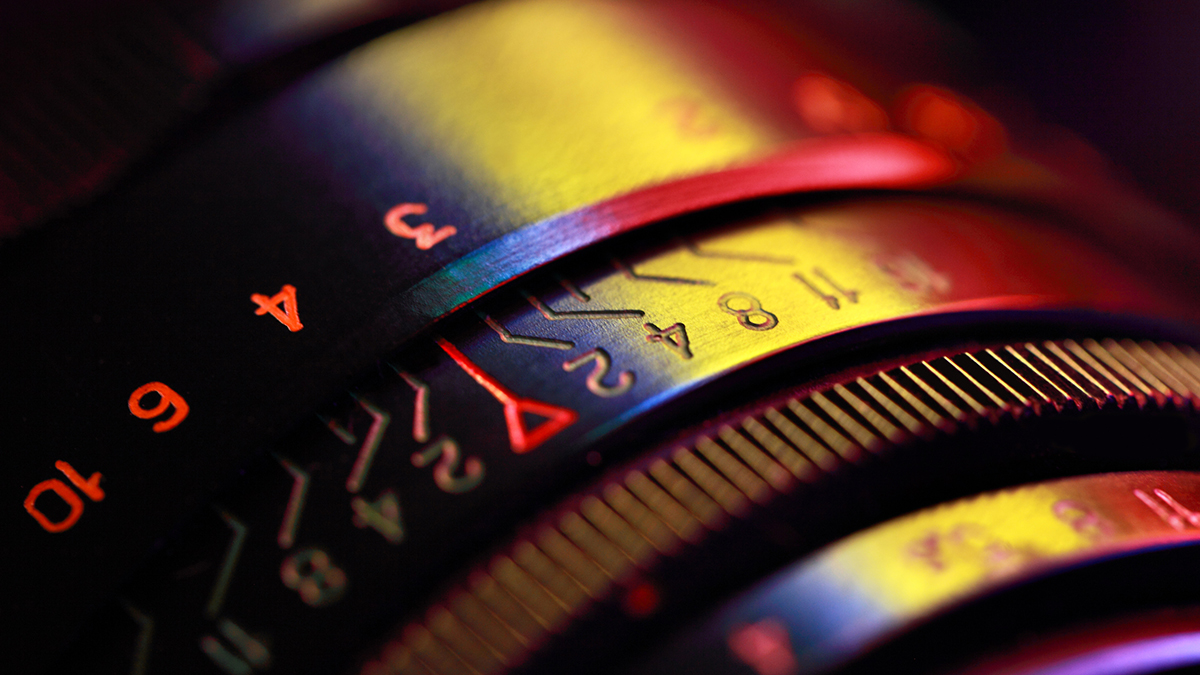
Aperture is displayed as a number called the f-stop, displayed as ‘f/’ followed by a numerical value. The aperture opens up as you lower the f-stop and vice versa. This typically ranges from a maximum aperture of around f/1.8 to a minimum aperture of f/22 in consumer-grade lenses, including cameras with a fixed lens.
Controlling light and depth of field
As you open up the aperture you let more light into the camera and less as you close it. It’s a useful way to naturally adjust the exposure levels without having to rely on boosting the brightness using software later on. But this also affects depth of field.
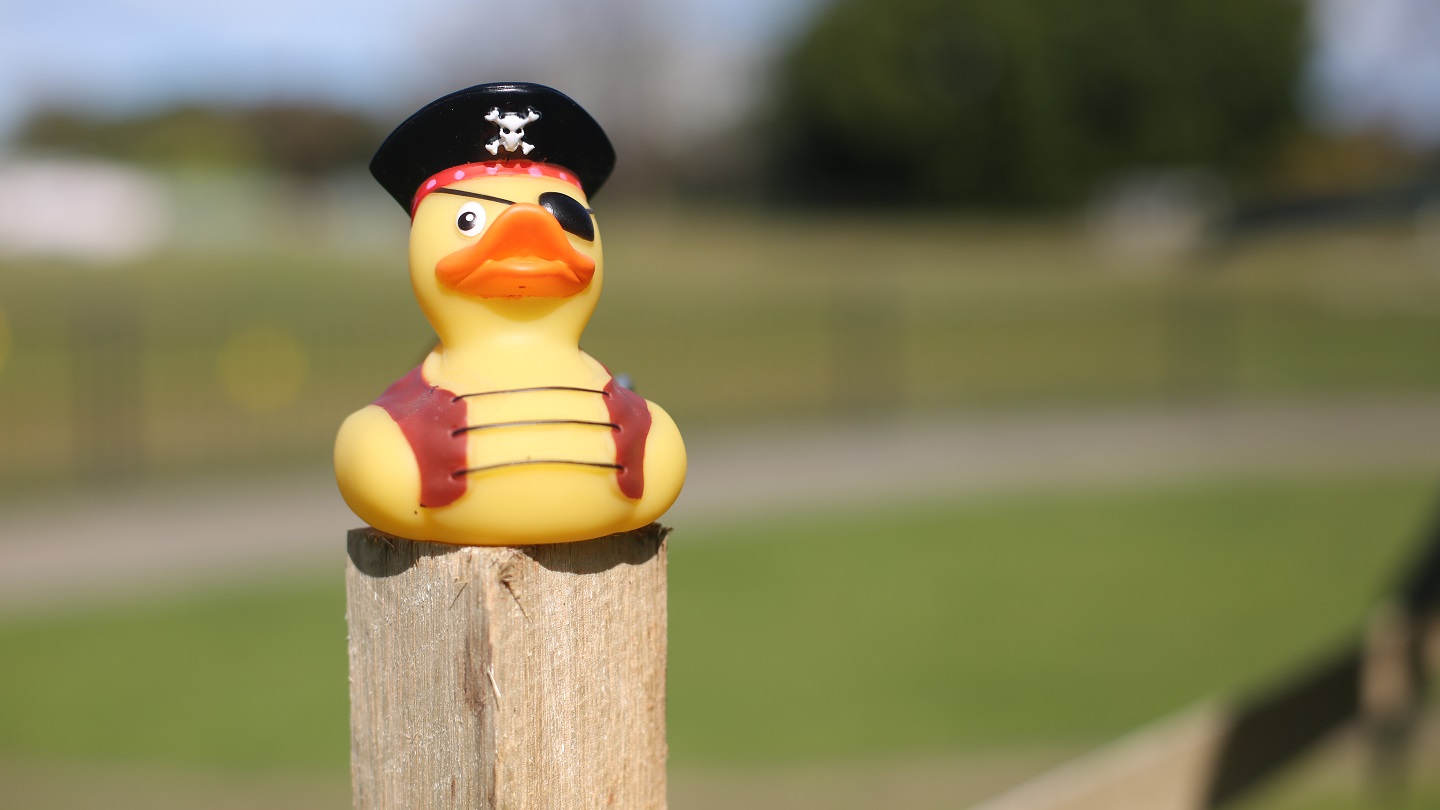
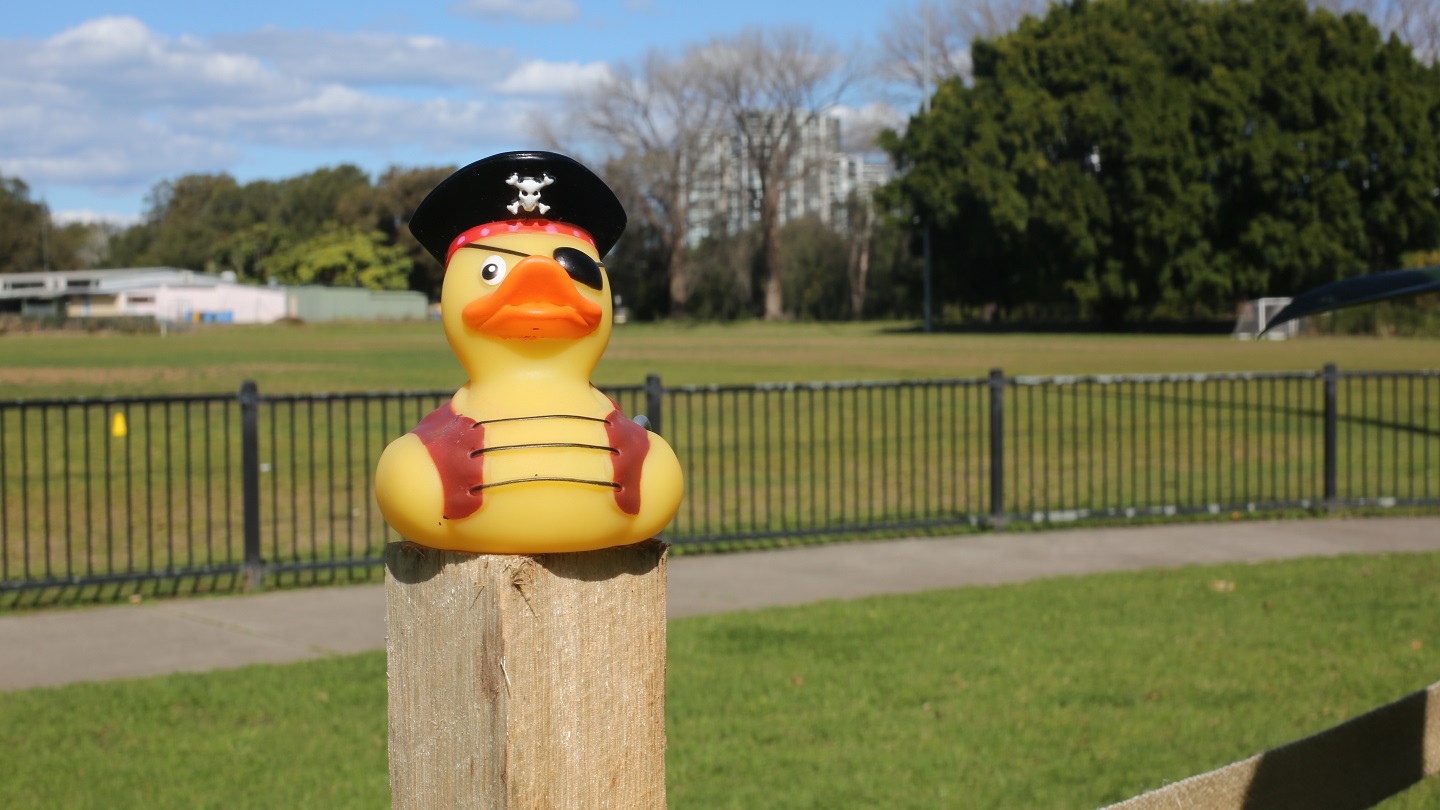
Depth of field basically determines how much of the image is in focus. Wider apertures create a shallow depth of field, which means that the subject will be in focus but the background will be blurry or soft. A smaller aperture does the opposite and ultimately flattens the photo at the higher end.
Wide aperture set at f/2.8.Small aperture set at f/22.
You know those photos of people ‘holding up’ the Leaning Tower of Pisa? That’s achieved using a small aperture. A portrait photographer, however, typically uses a wider aperture to highlight the subject against a softer background.
So, remember: a wider aperture lets in more light but leads to a shallower depth of field. A smaller aperture lets in less light but brings more of the image into focus. If you have a preferred aperture you want to use but don’t have the right amount of light, then you can also control the shutter speed to get the right mix.
Using shutter speed
Most cameras let you adjust the length of time that the shutter curtain stays open. This affects the exposure as well, but it also determines image sharpness especially when shooting moving subjects
Shutter speed is displayed in seconds or fractions of a second depending on the settings. For example, a shutter speed of 1/1000 means the camera is set to take a photo in one one-thousandth of a second. Consumer cameras usually operate within a range of 5–10 seconds down to 1/6400 of a second.
Controlling light and motion blur
As you slow down the shutter speed you let more light into the camera and less as you speed it up. This is because the sensor is exposed for longer (or shorter) periods of time. But this also affects motion blur.
Why does this happen? The camera’s sensor is programmed to record and interpret whatever it sees. So if the shutter stays open for longer, the sensor is going to pick up all the movement that happens in that time frame.
This is why night-time or indoor photos are often blurry when you’re using a camera or your phone in automatic mode. The camera is trying to compensate for the low light by leaving the shutter open for longer, but that in turn captures all the movement and creates a blurry picture.
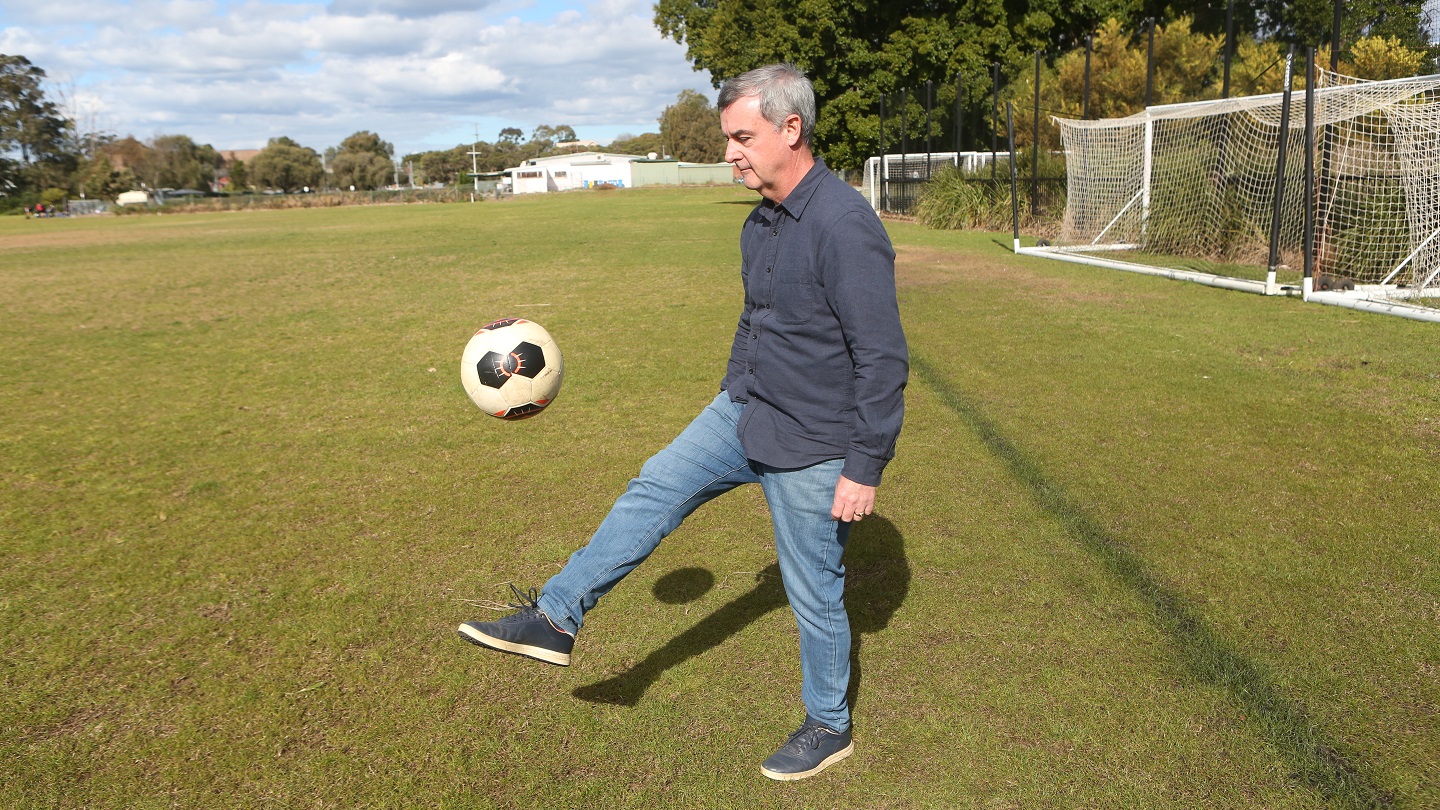
Fast shutter speed set at 1/3200.Slow shutter speed set at 1/25.
On the one hand, increasing the shutter speed is a handy way to increase exposure, but you need to keep motion blur in mind. Things like sports, moving vehicles or even photos of your kids running around at a picnic require a faster shutter speed whereas you can lower it if the subjects aren’t moving.
In some cases, motion blur is actually a desirable artistic effect. The most common example of this is waterfall photography. Snap a shot of cascading falls at a higher shutter speed and the water will look kind of jagged and hard. Bump that down and the running water will blur into a nice soft, flowing mist that looks quite calming.
Night-time urban photography is another good example. A low shutter speed will bring out the buildings with street lights and windows punctuating the image, whereas a high one will lead to an overall dark shot. Some cameras also have a Bulb setting where you can leave the shutter open for as long as you like, which is a handy feature for very low light and astronomy photography.
If you want to try slow shutter speed photography then either get a tripod or find somewhere to rest your camera. Humans can’t stand perfectly still, no matter how hard they try, and any tiny movements will add motion blur to the photo.
ISO is another setting that affects image brightness, but understanding it requires a little bit of history. Back when film was the predominate medium, ISO indicated the film’s sensitivity to light. A higher number meant increased sensitivity which essentially boosted the exposure based on available light sources. A reel of ISO 100 film had low sensitivity to light while an ISO 3200 reel had high sensitivity.
When digital cameras came along they retained the basic principle but converted it to a digital process that you can adjust. Now, most consumer cameras have an ISO range of 100–6400. It’s primarily used to give image brightness a bit of a boost when shooting in darker environments.
So, what’s the catch? Grain, or ‘noise’ to be more specific. As you increase the ISO, the amount of visible grain also goes up. An ISO 100 image will have no noise, whereas an ISO 6400 image will be bright, but very noisy. Modern cameras have built-in noise reduction tools that can compensate for this to a degree, but it affects image clarity at the more extreme end.
Low ISO in a low-light environment, set at ISO 120.High ISO in a low-light environment, set at ISO 16000.
Understanding white balance
You know how certain environments can look different depending on the weather, time of day or artificial lighting? Like how a park will look all lush and green on a bright sunny day, but the same spot can appear sort of blue when it’s overcast? This is to do with colour temperature and that’s where your camera’s white balance setting comes into play.
White balance adjusts image colour to make the final picture look natural. These days most cameras handle this automatically, but you can manually tweak white balance as well. This involves picking a pre-set such as daytime, night, or cloudy, or entering a specific value (measured in Kelvins).
You may also want to play with white balance for artistic reasons or to capture a particular mood. The blue hue brought on by a grey, overcast day may not look nice, but you can tell the camera to retain it if you want to capture a realistic scene.
Now that you know the basics it’s time to start experimenting. Keep in mind that every adjustment has benefits and compromises so it’s up to you to figure out the optimal combination for the environment, and also the style of photo you’re aiming for.
Say you want to take a photo of your friends at dinner indoors. It’s dim outside but the ceiling lights are pretty bright and you don’t want people to look blurry. Here is where you could try a wider aperture to let more light in with a higher shutter speed to reduce motion blur, and a slightly elevated ISO.
Or maybe it’s daytime and you want to photograph some sport with just a little motion blur to convey movement. This would call for a lower shutter speed, with a higher aperture and the lowest possible ISO to keep the exposure in check.
The best part about living in the digital age is you can learn by taking as many photos as you want without having to worry about buying more film. Theory is good but it only goes so far. It won’t take long to put these concepts into practice and you’ll be shooting exclusively in manual mode before you know it.
Peter Zaluzny is a Content producer in the Digital home team. He covers everything from home entertainment and personal safety devices to tech for your car and mattresses.
Peter enjoys cutting through the nonsense to help people understand the products they’re considering to buy. He helps consumers make educated, informed decisions.
Peter has a Bachelor's degree in Journalism and a Bachelor of Arts from the University of Wollongong.
For more than 60 years, CHOICE has been fighting the good fight for Australian consumers.
In the past year alone we've uncovered systemic issues with sunscreens, investigated shonky supermarket pricing, fought for stronger scam protections and helped make complex energy pricing fairer and clearer.
CHOICE is here to provide unbiased advice and independent testing in our world-class labs. We buy the products we test, just like you do, and our expert reviews are influence free. We’re here to help you choose smarter. Hopefully you’ll also save some money along the way.
Thanks to CHOICE, you’ll never be alone when a business treats you unfairly. You can support our work by joining or donating to our cause.