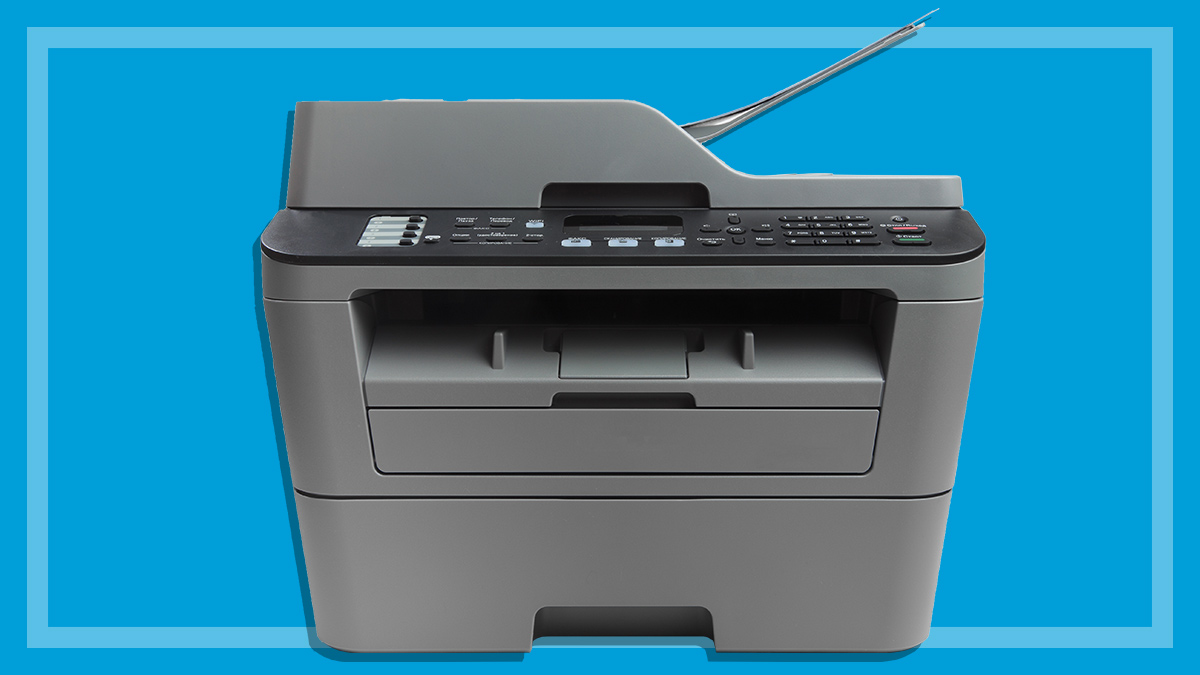
02.Using a template
Once you've located some suitable images, the simplest way to put your card together is using a template. Templates make printing easier, because the boundaries are set up for you.
To use a Microsoft template, head to officeupdate.microsoft.com/templategallery. Enter keywords, such as 'Christmas', into the templates search box at the top of the page and click on either your search results or a category to see a preview, then download the template.
Once the template is downloaded, open the file in Word.
To use your own image, select the picture in the template by clicking on it, then press delete.
Now insert your own image:
- From the Insert menu, select Picture then From File
- Locate the image you want to use and click Insert.
Or, if you want to add clipart
- From the Insert menu, select Picture then Clipart
- Locate the clipart you want to use and click Insert.
Adjusting your picture
Depending on the orientation of the template, you may need to rotate your picture:
- From the View menu, under Toolbars select Picture.
- Select your image - a border should appear around it
- Click the Rotate Left button

until it's in the right position.

If your image is the wrong size, adjust it:
- Select your image then move your mouse over the bottom right corner until you see a diagonal arrow
- click and drag the image up and left to shrink it, or down and to the right to enlarge it.
You may also want to alter the brightness or contrast of your picture:
- From the View menu, under Toolbars select Picture.
- Select your image - a border should appear around it
- Click the increase or decrease brightness buttons
to lighten or darken your image.
Use the contrast buttons

to adjust relative colour shading.